You will only be able to add a server if your user role has permission to create servers, review our guide for more information on the different roles and permissions.
ServerAuth does not create your server for you, so before you begin this process go into your hosting provider (DigitalOcean, AWS, Linode, Vultr etc...) and create your server.
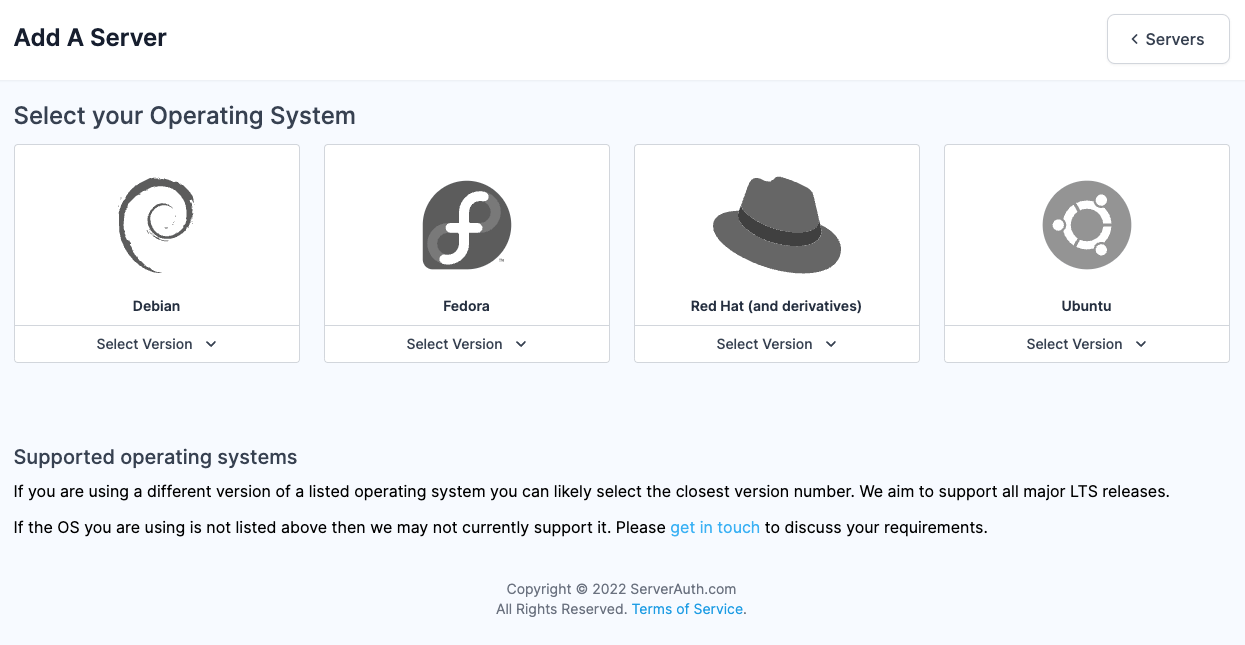
Click into the "Servers" section, if you don't currently have any servers with ServerAuth you will see a message in the middle of the screen to "Click here to add your first server", alternatively there is a button in the top right labelled "Add a Server".
You will be presented with options to select your operating system.

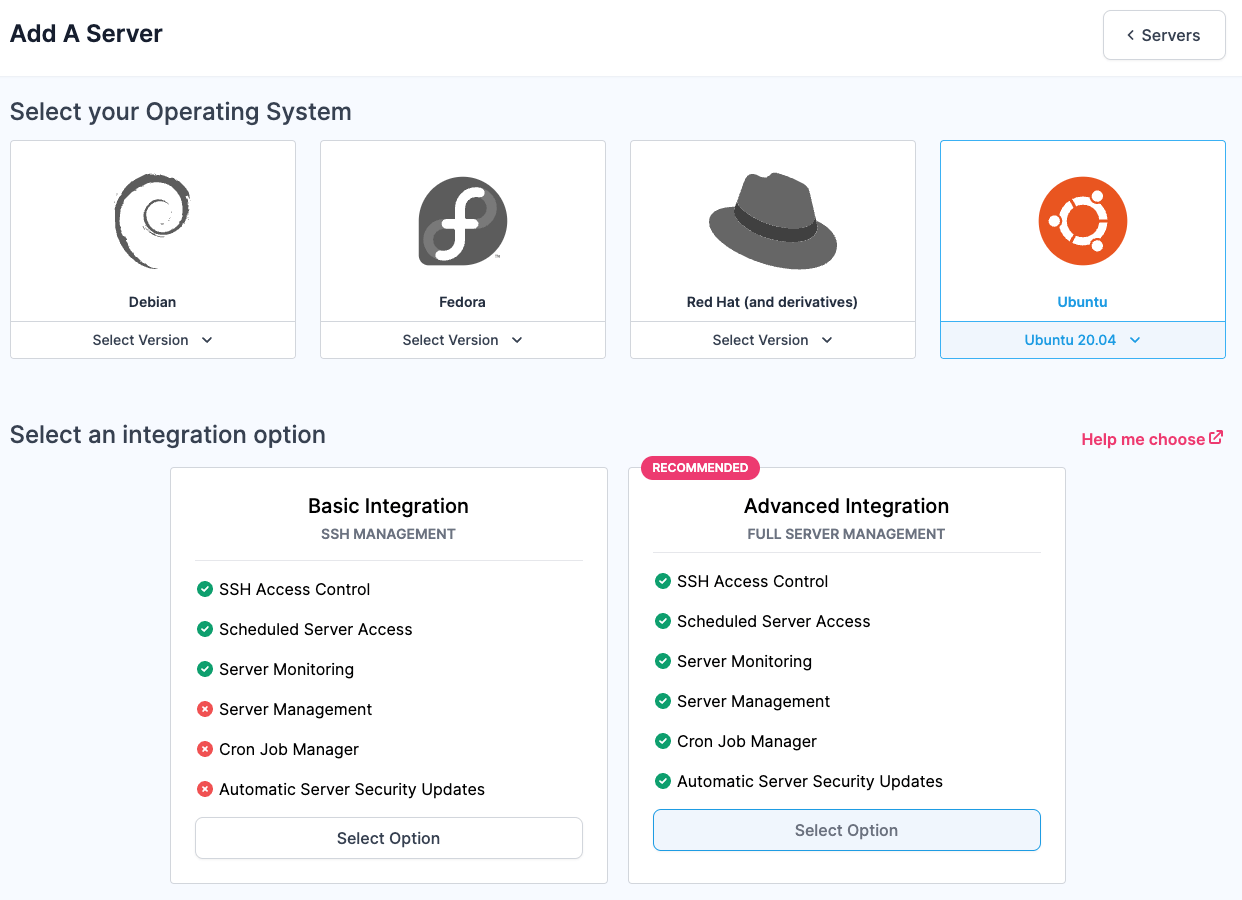
Based on your selection, ServerAuth will show you the available integration options, either basic or our advanced integration. For this guide we have selected Ubuntu 20.04 and will be selecting our advanced integration.

Before proceeding, you may find it helpful to read our Advanced Integration Installation guide. This covers some of the more technical aspects about getting setup on ServerAuth and what our systems actually do on your server.
You will be taken to our advanced integration wizard and on the first step you can:
The second step is the first part of the connection info that ServerAuth needs to connect to your server. Here we need your servers IP address, a user with root/sudo access and the port SSH runs on, on your server (the default port is usually 22).
Note: If your server has a firewall that restricts inbound traffic, you may need to whitelist ServerAuth IP addresses. You can find these in our Advanced Integration Installation guide
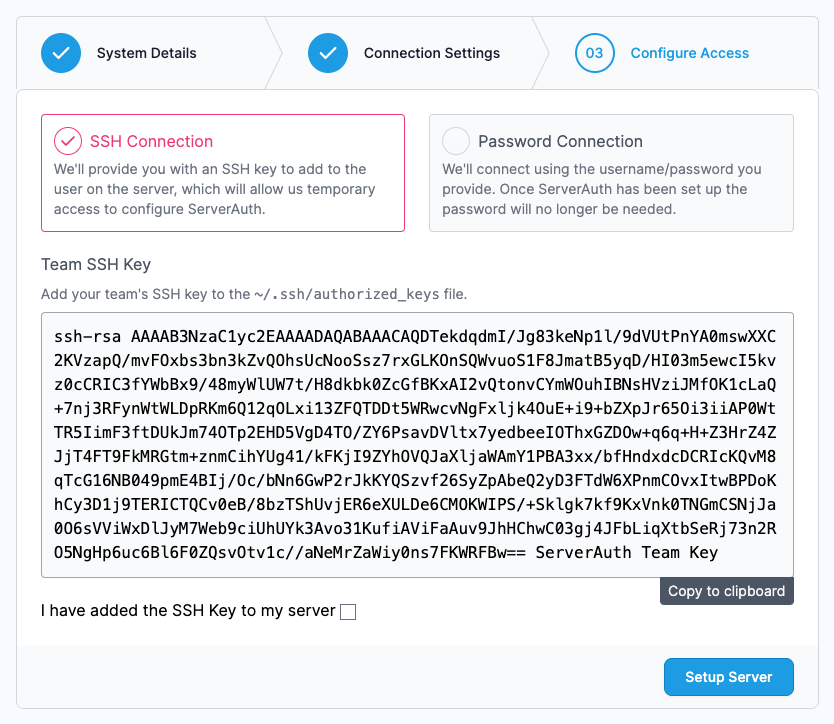
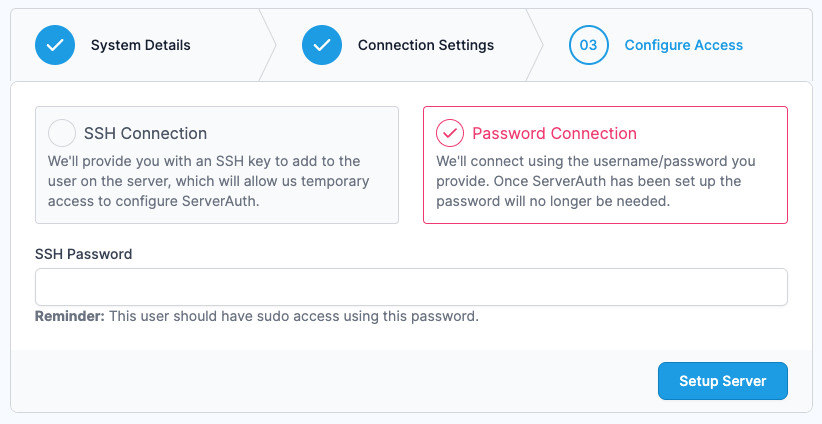
The third step is the second part of the connection info that ServerAuth needs. You can choose between SSH key authentication or Password authentication.
Our preferred method is to connect to your server via SSH Keys. When you select this option, you will be presented with a ServerAuth Team SSH Key in a screen like this:

You need to copy this SSH key into the authorized_keys file for the user you specified in Step Two. You can read how to do that in our Advanced Integration Installation guide.
Once done, check the box to confirm you have added the key to the correct location and press setup server!
Alternatively, if you have chosen password authentication you will be presented with a simple text box to enter the password for the user specified in Step Two.

Note: We don't ever store this password, we use it once to connect in and setup your server to accept connections from our system then we remove the password from our records.
Once entered, press the setup server button and our systems will start connecting to and setting up your server.
While ServerAuth is setting up on your server you will see the following screen.

If there is an error during setup the page will show the error returned by our Server Management system, along with a server reference number which you can use when contacting us for support.
If setup is completed successfully, the page will automatically redirect you to the server overview page allowing you to then manage your server.

