You will only be able to add cron jobs if your user role has permission to add & remove cron jobs, review our guide for more information on the different roles and permissions.
Click into the "Servers" section and find the server you wish to add a cron job to. Click the Manage button to load into that server.
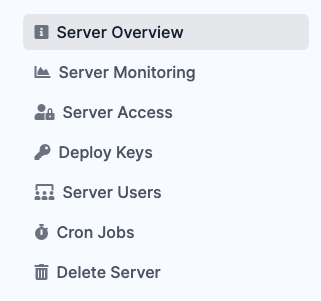
If you have the correct permissions, a link to "Cron Jobs" will be in the left menu, click into it.

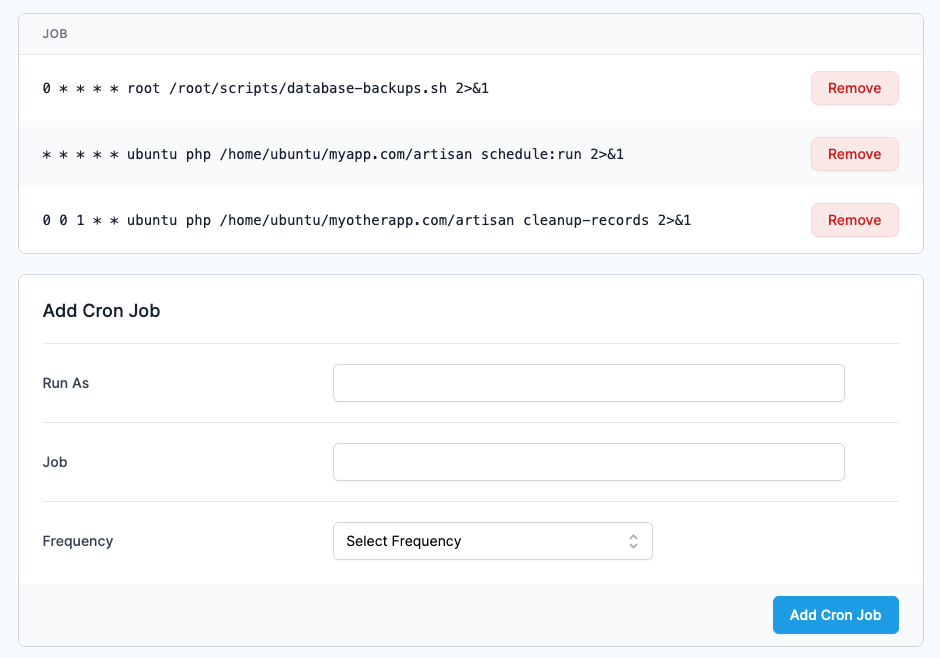
You will be taken to the Cron Jon management page where, if any are installed, they will be showing at the top of the screen with the form to add new ones at the bottom.

The form allows you to specify the user you wish to run the job as, the job itself, and lastly the frequency the job runs at.
When entering the job, make sure any paths are entered as absolute paths as a working directory is not set. Also, if required, ensure any files have the correct permissions to be executed by the entered user.
To make life easier, we've pre-filled the frequency drop down with a few common options for cron job frequencies. If you require something more bespoke, simply select "custom" and a box will appear allowing you to specify your own crontab syntax. You can use our free Crontab tool, located at https://serverauth.com/crontab-generator, to help generate the custom syntax if required.
Once everything has been set, click "Add cron job" and ServerAuth will begin installing the job on your server. It will be automatically added to the table at the top of the page with an installing flag visible. When the flag disappears and the remove button appears, the job will be active on your server.

