
CraftCMS has become one of the most popular PHP based content management systems, and it's easy to see why. With its powerful content types, easy to use admin area and modern Yii-based codebase it makes it a great choice for web agencies and freelancers to provide their clients with a simple to use solution.
Using ServerAuth's site management and automated deployment tools we're going to show you just how easy it is to deploy a CraftCMS site.
For this guide we're going under the assumption that you're building your CraftCMS site locally first and will be using Github to store the codebase.
CraftCMS provides a handy all in one local development environment called ddev. If you're using ddev then you'll likely already have your site set up locally, and can skip to step 2.
Inside your local directory where you store your websites you'll first want to create a copy of CraftCMS, like so:
composer create-project craftcms/craft my-craftcms-site
As part of the setup you'll be guided through a few questions on configuring your new CraftCMS site.
You can then go into the newly created directory where you'll find a copy of CraftCMS.
cd my-craftcms-site
Once your project is ready to go live you'll want to commit the code to a git repository. This allows your ServerAuth server to automatically deploy new changes in your specified production branch when you push something to it thats ready to go live.
If you haven't already, sign up for a github account or login if you already have one.
Before proceeding, if you haven't already we recommend you add your SSH key to your Github account.
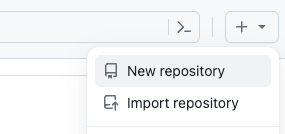
In the top right corner, click the plus icon to open up the drop down menu and click new repository.
Give your repository a name and then be sure to select whether the repository should be public or private. For this guide I've called it "my-craftcms-site" but you should give it a more descriptive name.
Upon creation you'll be given some instructions on how to add code to the repository. Within the Quick Setup section, ensure the SSH option is selected and copy your repository URL. It should look something like ours below but with your username and repository name.

Head back to your terminal window and make sure you are within your project root folder and run the following commands to connect your new repository to your site, and push a copy of it to Github.
# This creates the git setup on your machine.
git init
# Remember to swap out the repository URL in this command
# This command links the keyword "origin" to your repository URL
git remote add origin git@github.com:serverauth-com/my-craftcms-site.git
# This adds all the files to "staging" meaning they are ready to be committed
git add --all .
# This creates a git commit with a commit message of "Initial Commit"
# You can change the commit message if you wish to be more descriptive in your commit
git commit -m "Initial Commit"
# This command pushes all new commits to the repository and branch specified
# Note the use of "origin" here, this is how git knows the repository URL to push the code to
# and "main" is simply the branch name. "main" has become a defacto standard for the default branch
git push origin main
Once completed, your code should all be in your repository on Github. If you head back to your browser and refresh the repository screen that had the quick setup section you should now see all the files and folders that make up CraftCMS.
For the purpose of this guide we'll assume you already have a server configured with ServerAuth. If you want a guide on creating a server, you can check out our guides on how to set up a server with DigitalOcean or how to set up a server with Hetzner. ServerAuth supports all server providors, and the only requirement is that your server should be running Ubuntu or Debian operating systems.
With your server set up within your ServerAuth account we need to install a few different services if you haven't already got them enabled.
First we need to enable "Sites". This will install and configure Nginx and PHP on your server. Once your server is setup, click to manage the server within the ServerAuth platform and head to Sites in the left menu.
You will be presented with an info box and a button to "Install Nginx". This button will also install PHP at the same time. Click the button to start the installation and you will be shown an "in progress" screen. You can navigate away from this page while this is installing and you can move onto the next service.
Next, head to the Databases section from the left menu. You will be presented with the options to install MySQL and also Redis. We're going to need MySQL to store data for our CraftCMS site so go ahead and click to Install MySQL.
Redis is an optional service, you can use Redis to help manage things like caches and user sessions so it can be useful depending on your needs with the application. If you think you are going to need it, go ahead and click the "Install Redis" button too. The CraftCMS documentation covers how to use Redis with your site.
As with the Sites section, you will see "in progress" screens for MySQL and Redis.
Next we need to create a database and database user, once MySQL has finished installing and the page has refreshed, you should see an empty table and a "Create Database" button. Click that to bring up the create database modal, fill out the form but ensure you leave the "Allow remote access" checkbox unchecked. Remember to make a note of the credentials you enter as these will be needed later.
Head back to the "Sites" section once it has finished installing and you should see the option to "Add Site", click this button and you will be taken to the form to create a new site. Fill out the form with your site details, ensuring you select the latest version of PHP when doing so. We also recommend you make use of website isolation and create a brand new user for your website to run under. This just adds an extra layer of security to your setup. For this guide, we've created a new user called "mycraftcmssite".
ServerAuth also provides the ability to create a temporary domain if your website is not yet ready to go live. Check the "Enable Temporary Domain" option and our system will create a subdomain within one of our development domains for you to use while your application is in development.
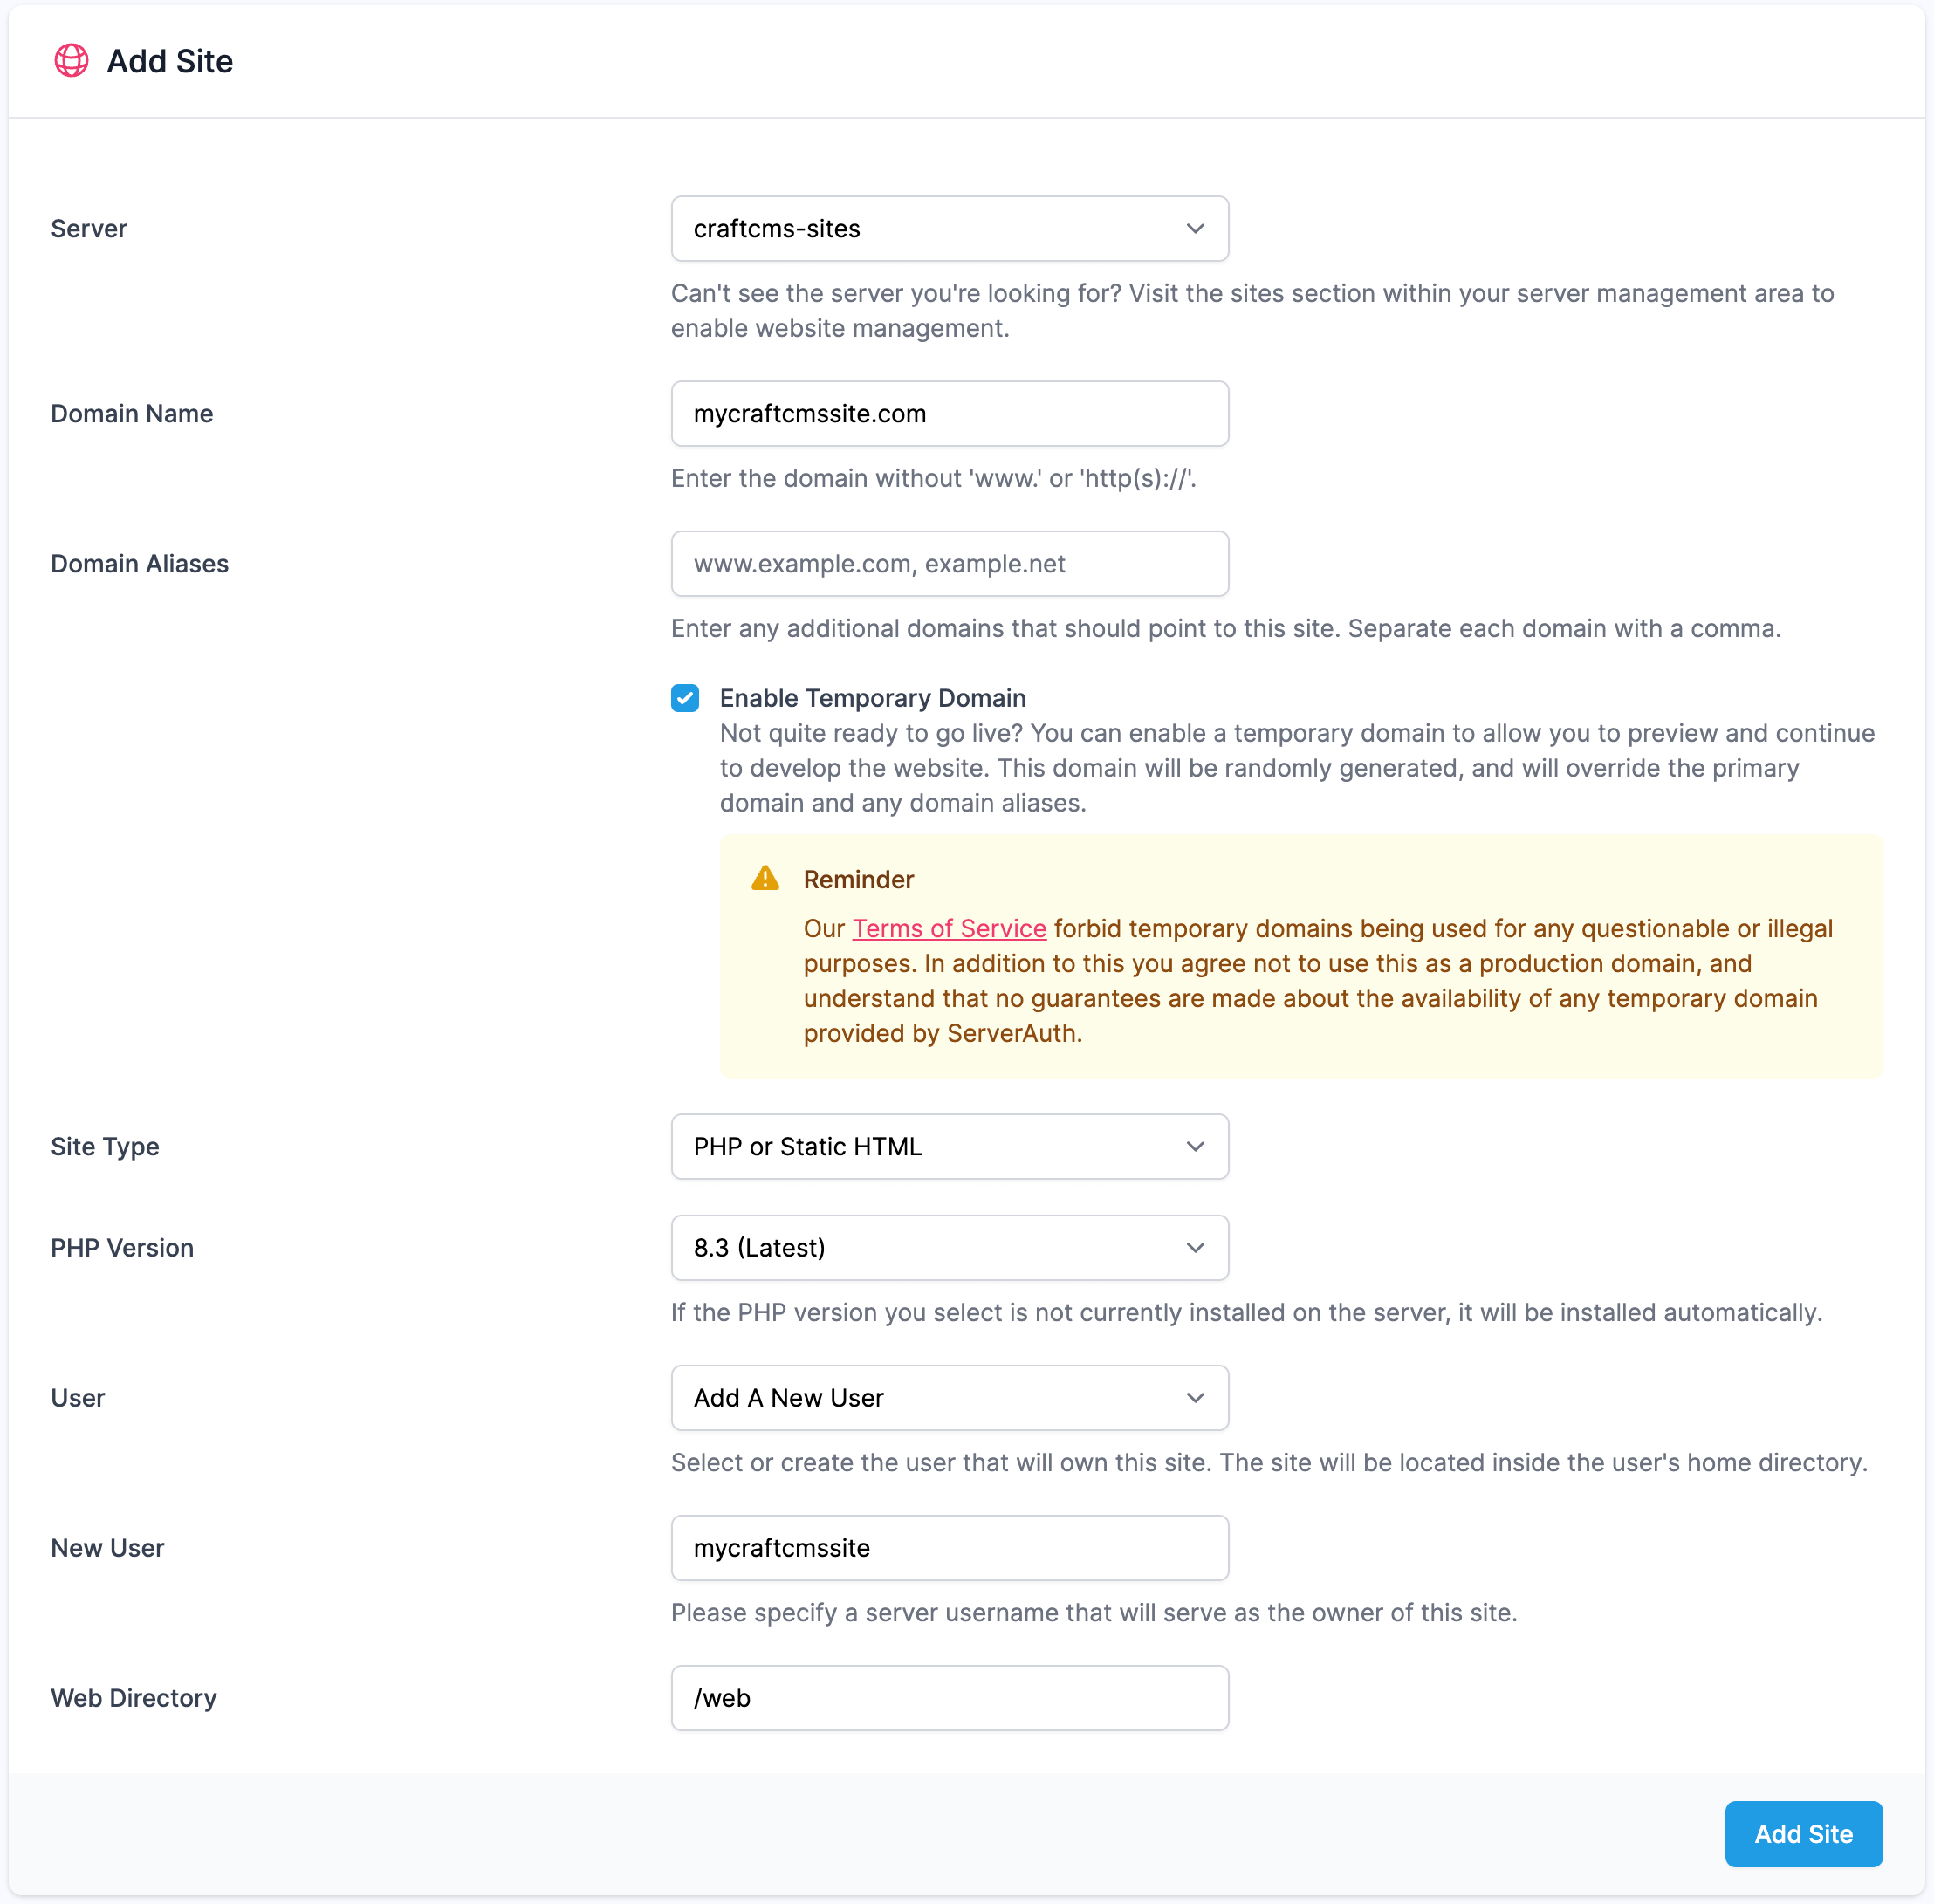
You'll also want to change the webroot path to /web as this is where CraftCMS places the web accessible portion of the cms.
Click add site and our system will begin creating and configuring the Nginx records on your server. While this is happening, you will be taken to the Site Overview page where you will see the details you entered along with your temporary domain if enabled. Avoid visting your temporary domain until the site has finished installing. See below for a screenshot of the Site Overview page.
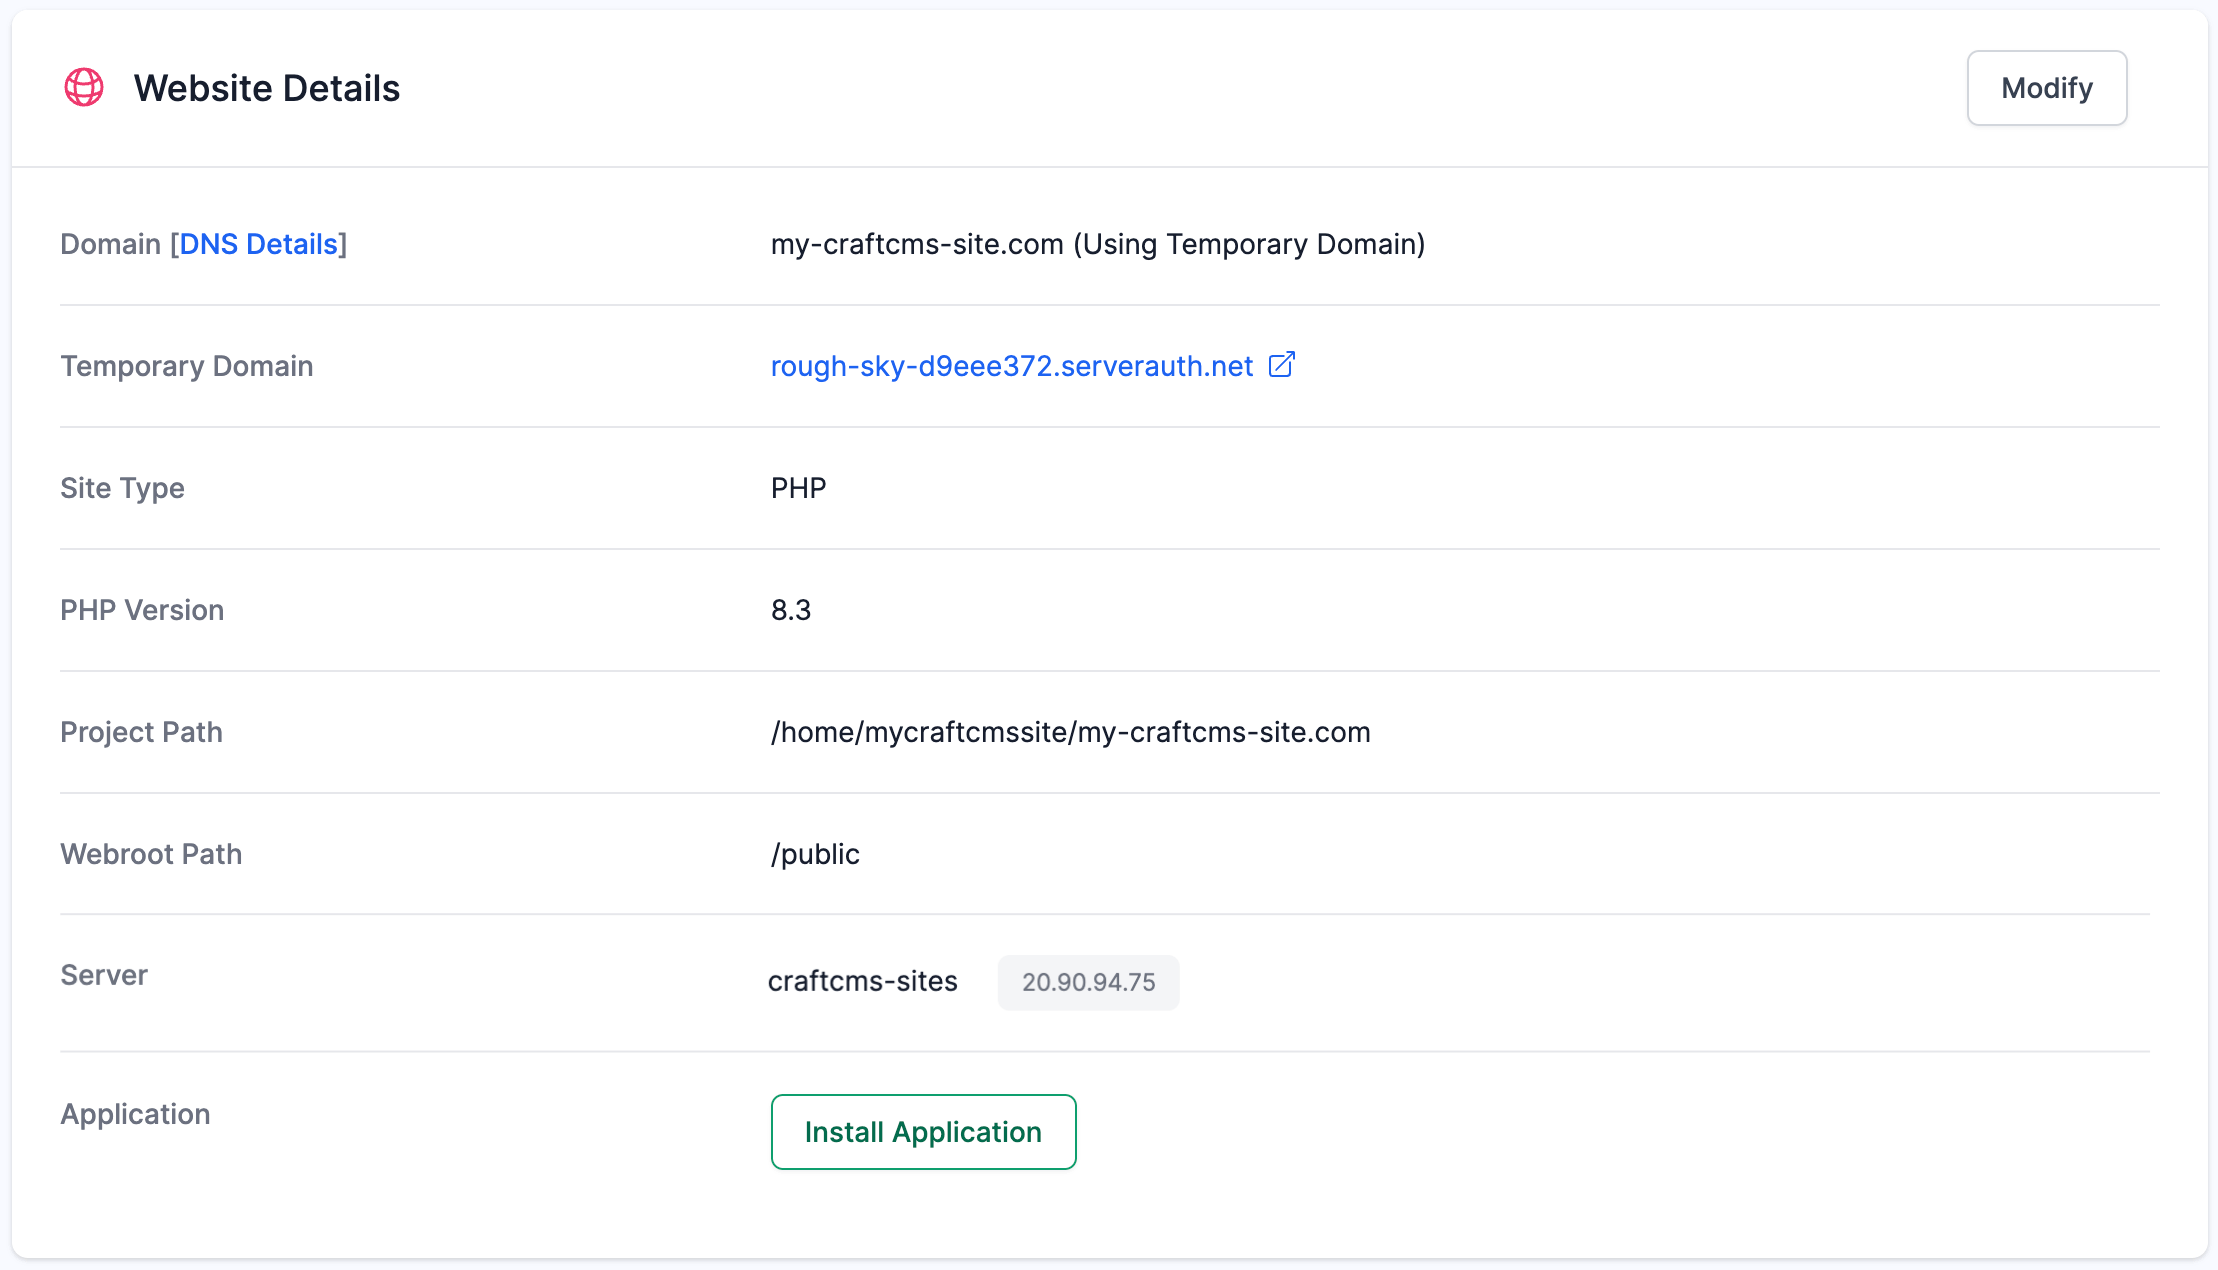
Once your site has finished the setup process, click the Install Application button towards the bottom of the Website Details section, alternatively click "Application" in the left menu. If you haven't already, connect your Github account to ServerAuth and then return to this page. You should then see an option to select your connected Github profile.
Select your Github profile and populate the text box with your repository, we'll then try to find your repository and retrieve the list of branches in your repository. As per this guide, we only have one which is our "main" branch.
Some extra options will appear once you've selected your branch, check the option for composer install and then click install.
While your site is being installed, we'll need to setup your SSH access to the server so we can configure your CraftCMS database settings.
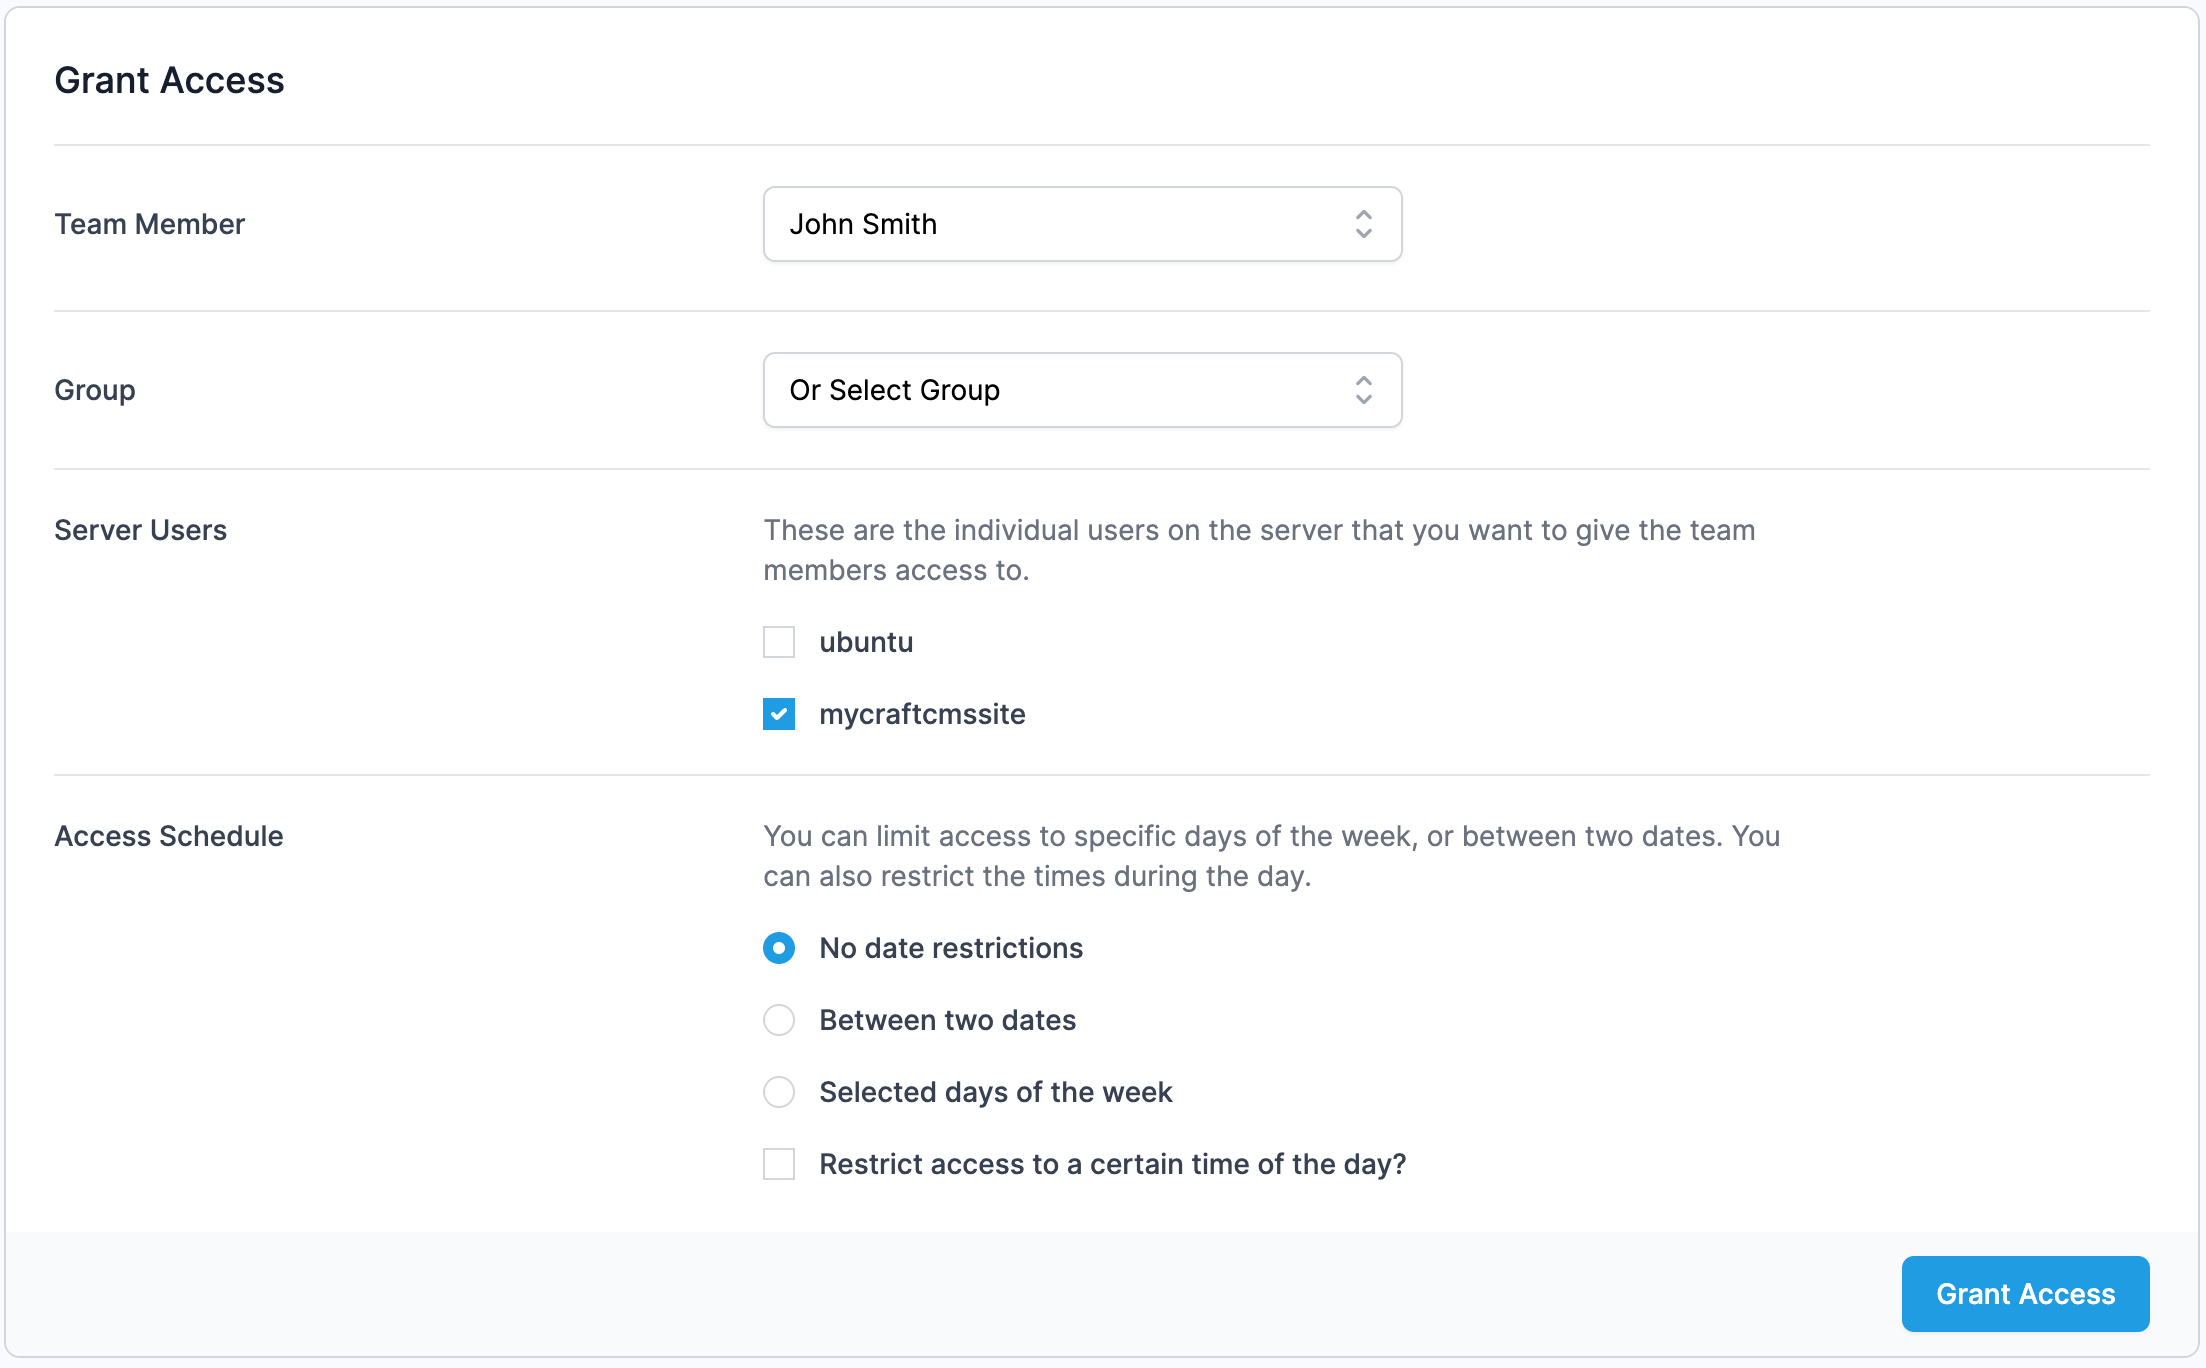
Head back to Manage Server via the left menu and then click Server Access. On this page will be a "Grant Access" section. Select yourself from the Team Member drop down and then check the server user you defined when installing the site, ours was "filament-app". We don't need to set any date restrictions so leave that as is.
Save that form then head to "SSH Keys" in the top menu and add your SSH key to your account. Once saved, please allow a few minutes for our systems to sync your SSH Key with any servers you have been given access to.
We now need to SSH into the server to set up our CraftCMS environment file. This contains all the details on how to connect to the database.
Start off by logging in to your server using a terminal app.
ssh mycraftcmssite@[server-ip-address]
You'll find the website's directory inside your home directory. If you're unsure on the directory name type ls and hit enter to list out all directories, then you can move into the site's directory.
cd mycraftcmssite.com`
If you now list out all files using la -lah you'll see that CraftCMS provides an example production environment file called .env.example.production. Lets copy that to .env to become the basis of our live configuration.
cp .env.example.production .env
Before we edit the configuration we need to set an App ID and App Security ID. These are used by CraftCMS for things like session encryption. If you've already got an App ID and App Security ID you wish to use, you can skip this part and proceed to editing the .env file.
./craft setup/keys
You can now edit the .env file using a command line text editor such as nano.
nano .env
Inside the file you'll need to set your database username, password and name. There's also a few other settings found in this file should you wish to modify them. Once you're done editing, save the file.
Finally we need to run our database migrations. This will populate your database with a fresh CraftCMS installation. If you've already been working on your site locally and would prefer to use that, then you can import a MySQL backup file using the command line, or your preferred database client - as a reminder we recommended not allowing remote access to your database. You can work around this in most MySQL clients by enabling an SSH connection, which is where the client connects to your server via SSH and then performs all database actions from the server as a local user.
Assuming you're not manually importing a database, run the CraftCMS install command like so:
./craft install/craft
You'll be prompted to create an admin user along with the domain, language, etc. The migrations for the site will then run.
Once the installaton is complete your site shold be ready to go! Head to the domain, or the temporary domain if you selected this option during site setup to test out your new CraftCMS website.
When developing, it's handy to have code automatically pushed to your server when a change is pushed to your main git branch. If you head back to the ServerAuth platform and click Sites in the top menu, click manage on your CraftCMS site to be taken to the Site Overview page.
From here, you can trigger a manual deployment, but this isn't always ideal as it would mean having to visit ServerAuth everytime you pushed a commit, instead, we can enable "Auto Deployment". ServerAuth will create a Webhook on your repository that will receive a request everytime you push a commit to your repository. If it's the correct branch that has been pushed, our system will automatically trigger a deployment!
To enable it, click Application in the left menu while on the Site overview page. In the main content area you should see a toggle option to turn it on.

Now every time you push code to your repository, our systems will automatically deploy it for you! You also have the option of running additional CraftCMS console commands by adding them to the Deploy Script section. For example if you wanted to automatically sync your project configuration after every deploy you could add this:
./craft project/sync
As you can see ServerAuth makes deploying and managing your CraftCMS sites and servers incredibly easy, and we're just scratching the surface of what's possible here! If you're using queues ServerAuth provides both cron job and supervisor daemon management, as well as a host of other useful site and server management tools to make deploying and managing your CraftCMS sites a breeze!
ServerAuth provides a whole host of management tools, from controlling who can access your server, to managing your website deployments. And with an ever-growing suite of tools you'll always be one step ahead!
Start for free
