In this guide we'll be helping to show you around the Akamai (formally Linode) control panel so you can create your own server and integrate it into ServerAuth for easier server management.
For the purpose of this guide, we'll assume you already have accounts with Akamai and ServerAuth. If not, do that now before proceeding.
If you prefer a more automated approach then skip ahead to the Easier alternative setup. With this method we create the server on your behalf using the Akamai API.
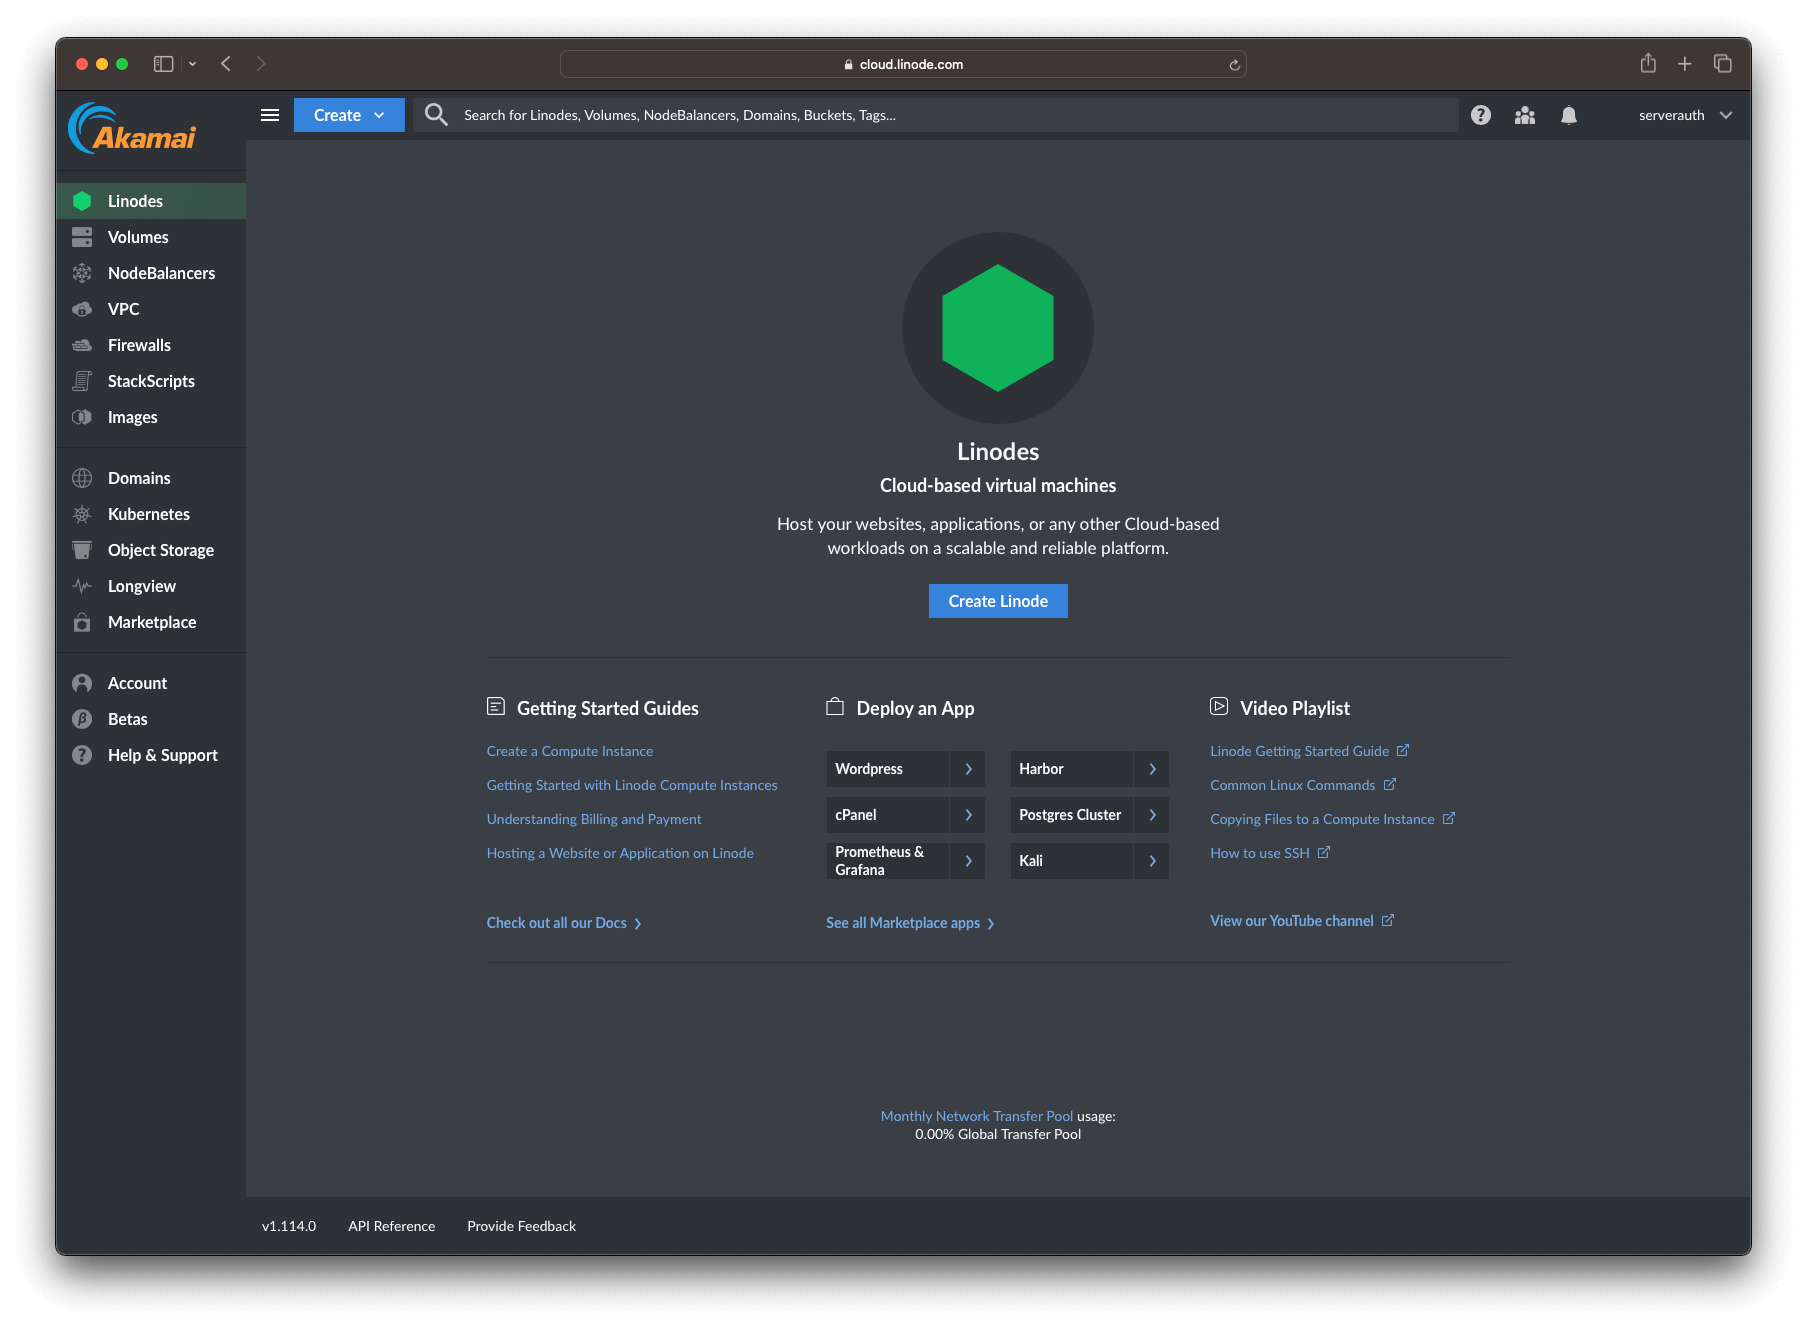
Upon logging into Akamai, your dashboard should look something like this. They do have a "light theme" for those users that are running in "light mode" so it may be slightly different if you are.
Our first task after logging in, is to add your SSH key to your account. During server setup you will be asked to select which SSH key you want to add to the server (if any). Using SSH keys is preferred over password authentication and doing this now simply saves interrupting the creation flow. If you already have a SSH Key in account, skip ahead to Deploy your Server section.
Otherwise, click your username in the top right corner to bring up the account menu which should look something like this.
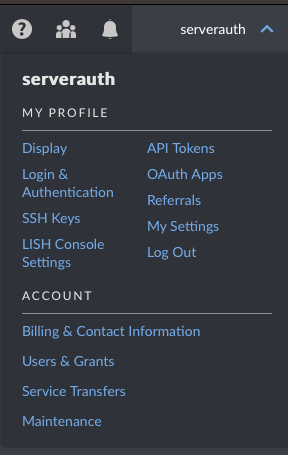
Click the SSH Keys link to be taken to the management page to add your SSH key. Click the add SSH key button to open up the form overlay. Give your SSH key a friendly name so you can identify it and drop your actual key into the textarea. Your SSH key should look something like
ssh-rsa AAAAB3NzaC1yc2EAAAADAQABAAACAQCwQgfXajx0XezIrX74LJJdzaPEGTO8iWv1loQboV3RaPGxHSbQeRGLsKiHUG46zrNIssq73eCqtzXh9OYBHB8308/QYlXpYBsbgW5q+U+dYL4eTJde5S3oDoKD09EgWJ/NY8vXoJ/iJAlSbvaTUr98xCRQ3F7BUDh9gr7DYpyWNXAjF+XJp4dETT02/y0o+cQ4vITGu0OljvwCIkDSFt+QNQn6Wggd+C1bbQRPY8N0DchzqhF3ixU+XF1Q3KKUC7QTldfnrlRCr6qDKI2eSfUL+iG2N0KuLTSLvCe+84XqM1I2IwfujQtUcAgxyWF2nRp0xYHiKty60nrI1dNbQl5/uEJUHpL5sCo8kcjMfMS0lhTDyoaNBKTt/j3zu+cBiXj2IZa7lBQuLuH+/oTiBtuJ7g+XO8E8zXQKXmbZiFiC/7TA5A4Z9SkB6lcZqGLF5xbnKFnHywUPN1mdrDL8XyDQrNBmdqyzuqVZieDkCyrVraT12ruWjgR8UB0jM+j6yLKqmN9uUzBIvhavlHpzw/YeJ4pZSqjuicWLPnK9BzKSAqx0WbtQa0aCY0O1f6PVeirW6JM9zUvV7H0Yy4QGRyllaahy7z7kD4kxXQX07K0ep2SbmzstpRizRp38dG71fvNpel8dFtKPxOaTy4bBAARUc6UcW1RtJPrHQnxWZmdigQ== mike@example.com
If you don't have a SSH Key and need a guide on creating an SSH Key, you can follow our guide on how to set up SSH Keys.
Once you've saved your key, head back to the dashboard by clicking the Linodes link in the left menu.
If you don't have any servers yet created, go ahead and click the "Create Linode" button in the middle of the dashboard, alternatively click the create button in the top menu and select "Linode".
The first section will ask you to select which image / OS you want to install on the server. We really like Ubuntu here, so we've selected Ubuntu 22.04.

Next up, you will be required to select which region you want to create the server in. If your website or application is "local", it may be useful to create the server in a data center closer to where your userbase will be located. For this guide, we've selected London UK.

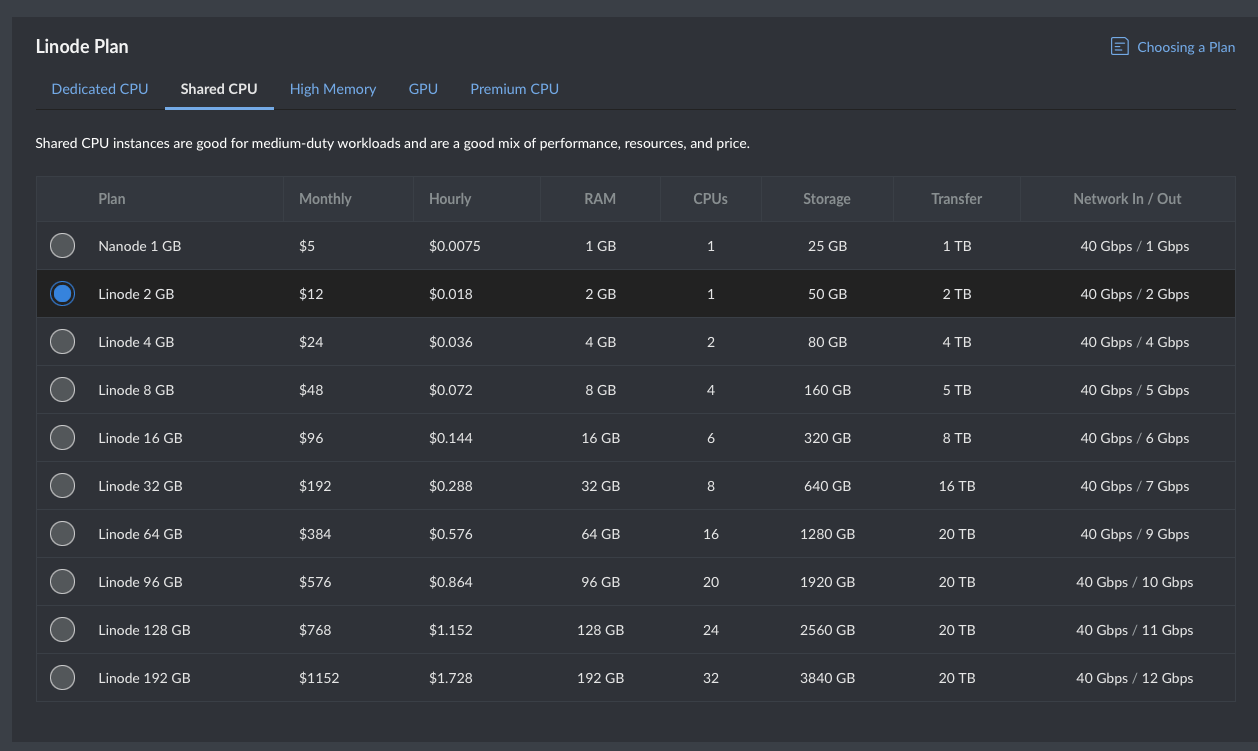
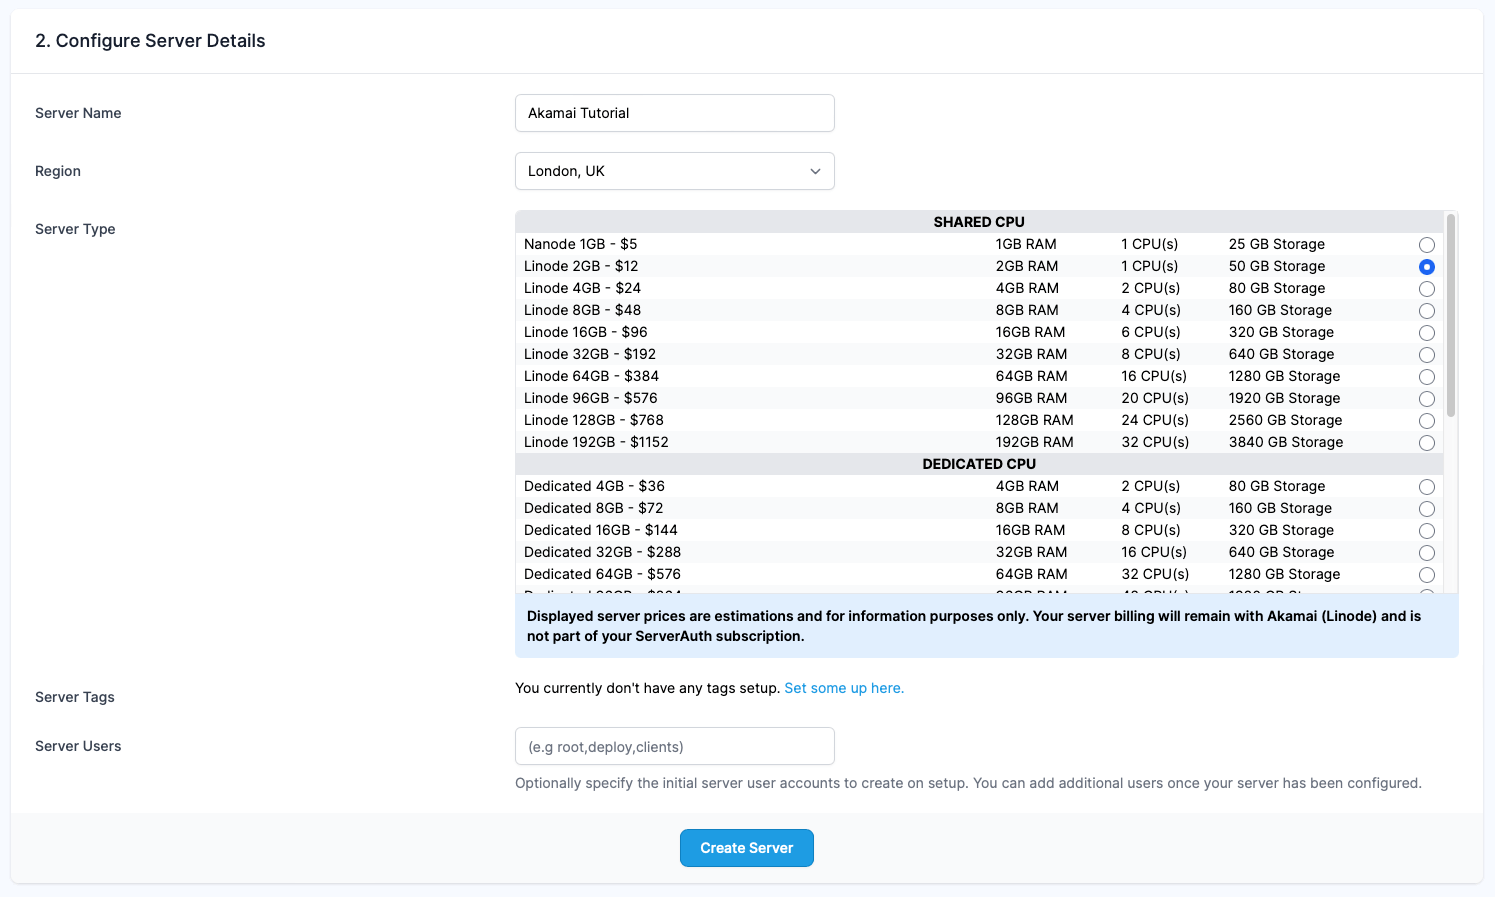
Now we have to select the plan and size of our server. Pricing and availability can differ between regions so ensure you have the correct region selected before proceeding. For this guide we don't need a huge server so we've opted for "Shared CPU" and selected the 2GB option for $12 per month (at the time of writing).
To aid with your organisation, next you can set a name for the server and assign tags if you have any saved. The name will be prefilled for you based upon the OS and region you have selected.
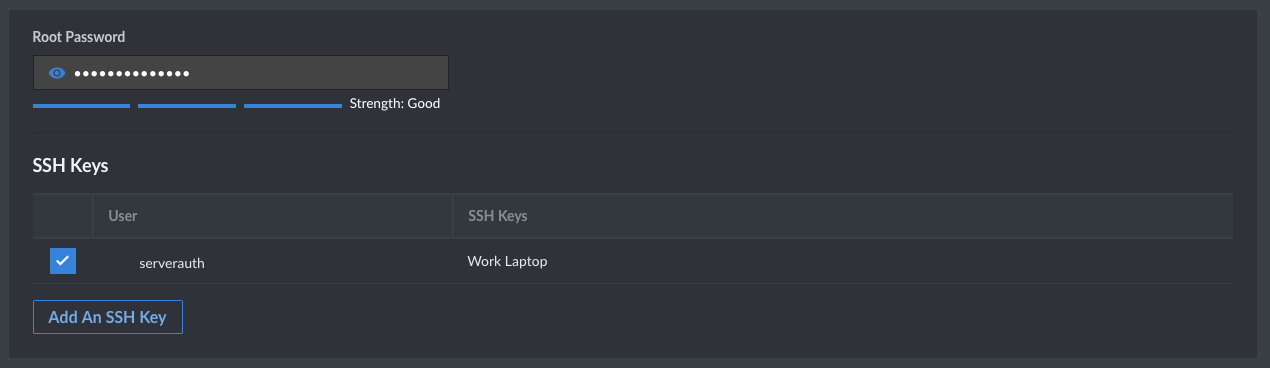
After setting the name, you will be asked to provide a root password and select any SSH keys you want to add to the server. Ensure you enter a strong, secure password for the root password to help maximise your security. We've added a strong password and we've also selected the SSH key for "Work laptop" that we added at the beginning of this guide.
Lastly, there are a few optional extras which we don't need for this guide and after that is the summary section for what you've selected and how much your monthly bill will be.
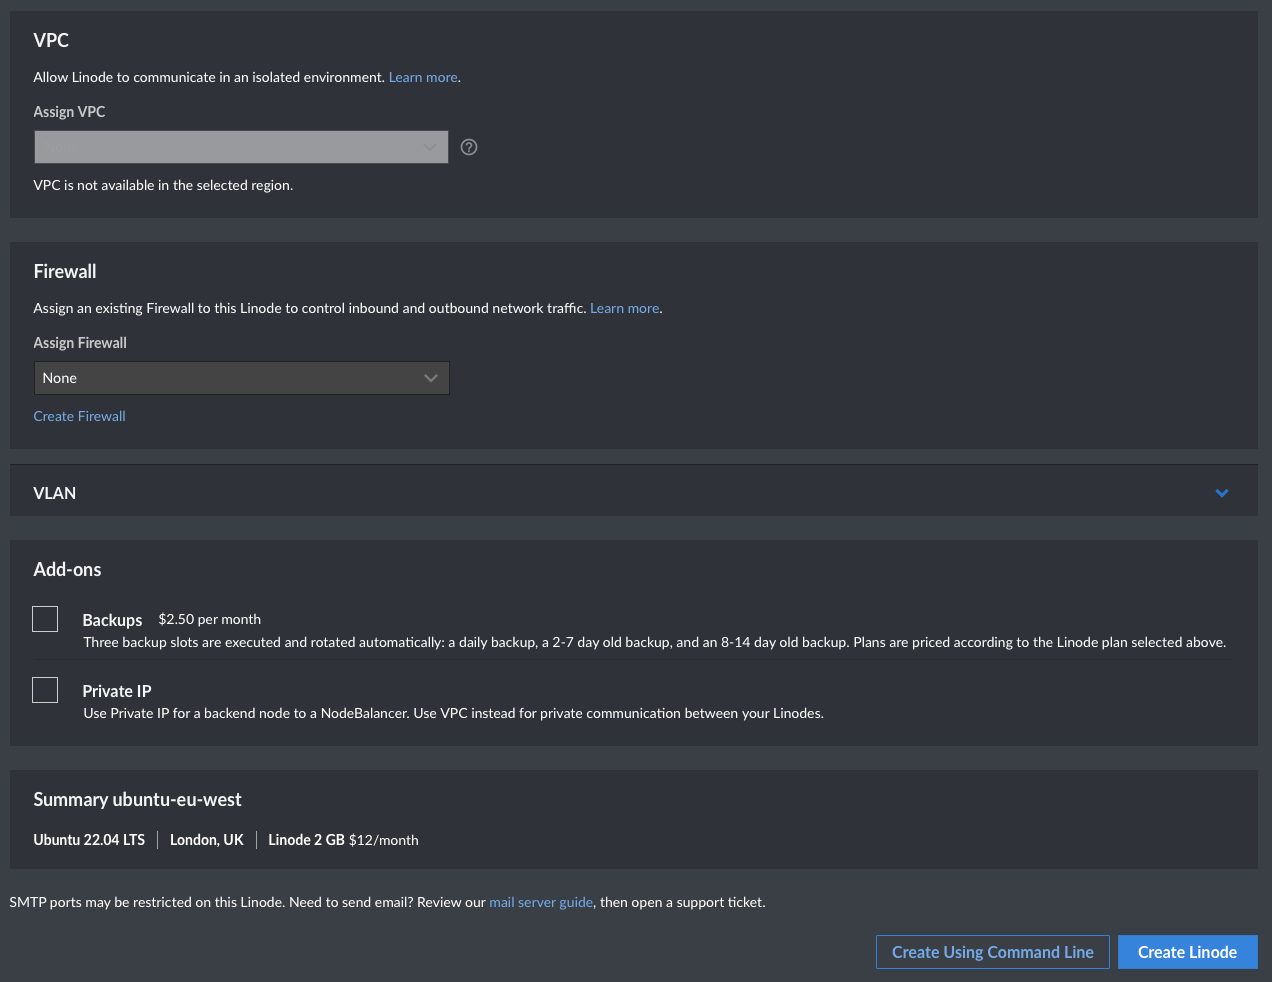
If you're happy with everything, hit the Create Linode button and you will be taken to the server details screen where you will be able to see the IP address assigned and the status of the server.
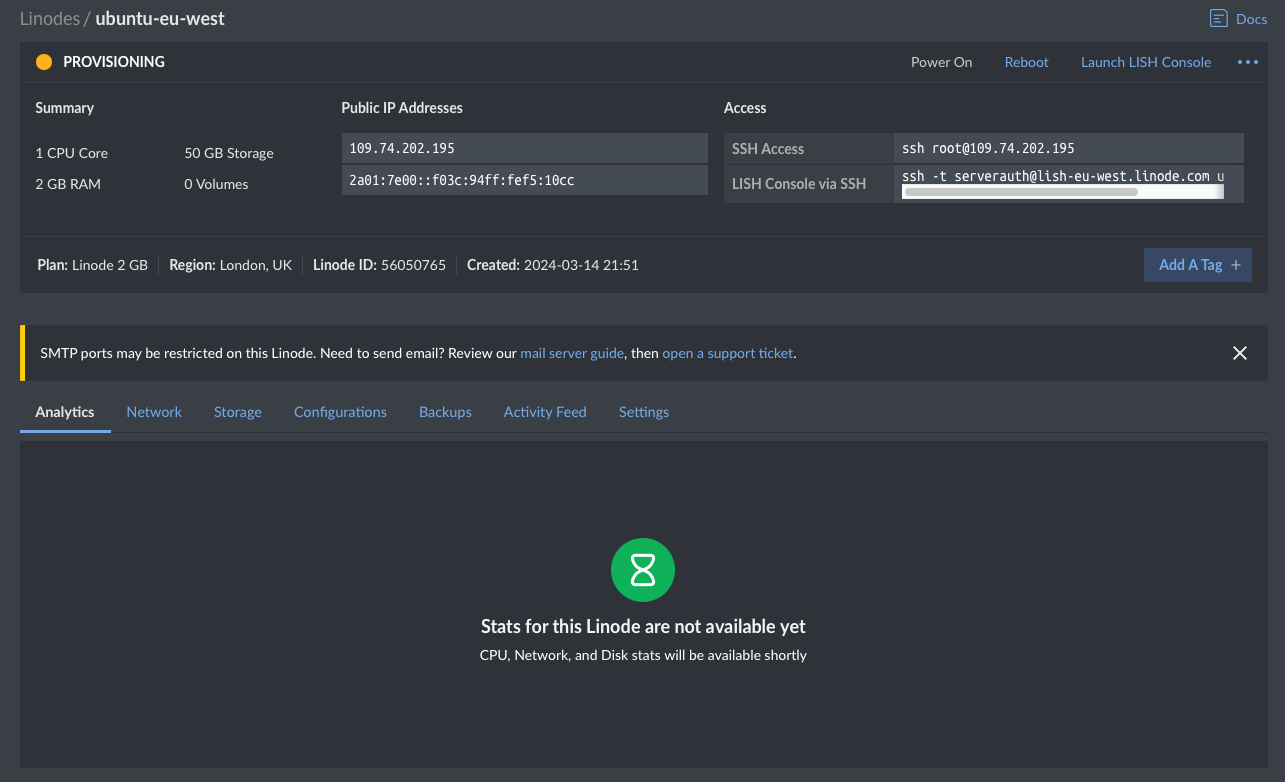
Once your server is up and running, copy your IPv4 address from under the Public IP Addresses section and login to your ServerAuth account.
When you login to ServerAuth or create your account, you will seen a screen that looks like this. This is your dashboard and server list, any servers you integrate ServerAuth into will appear here.

Click the center of the content area or the blue "Add A Server" button to get started. You'll have the option to select a server provider or to setup a custom server. More on server providers below in the Easier alternative setup
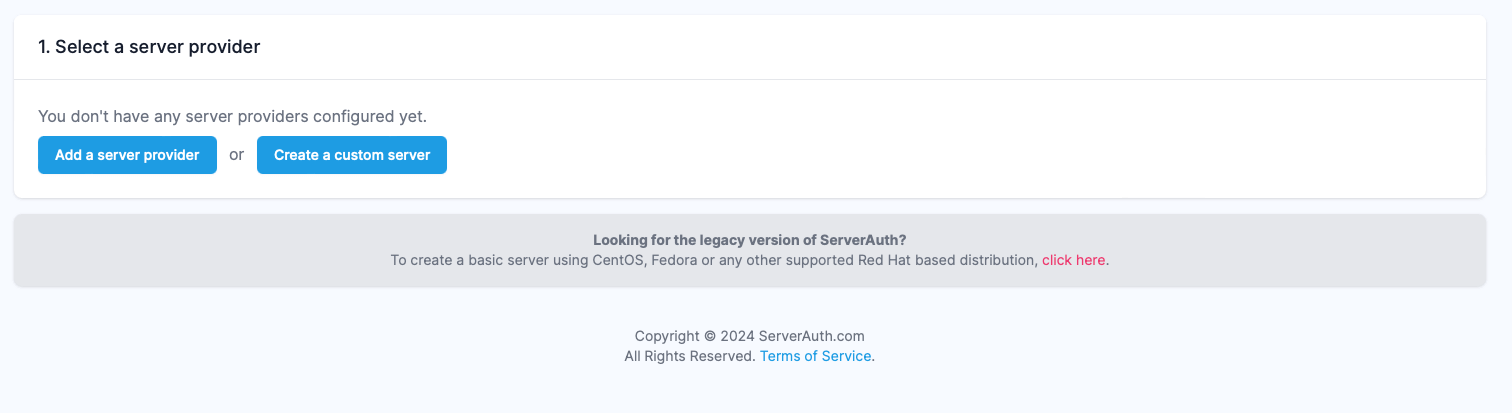
Select the "Create custom server" option, this will take you into the 3 step process for integrating ServerAuth into your server.
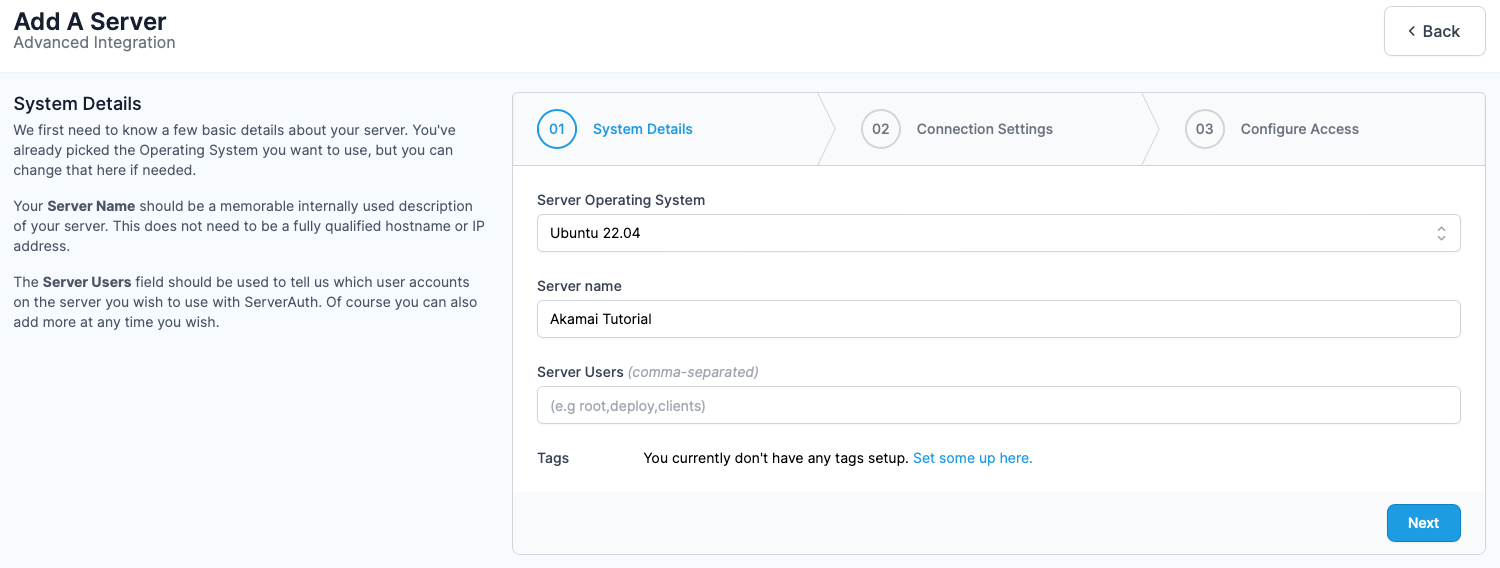
The first step will ask you to provide a name for the server so it can be identified in your server list, the operating system and a few other options that can be omitted for this guide.
For the operating system, make sure to select the same operating system that you selected when creating your server within Akamai. You can leave server users and tags blank. Click next when you've filled out the server name and operating system.
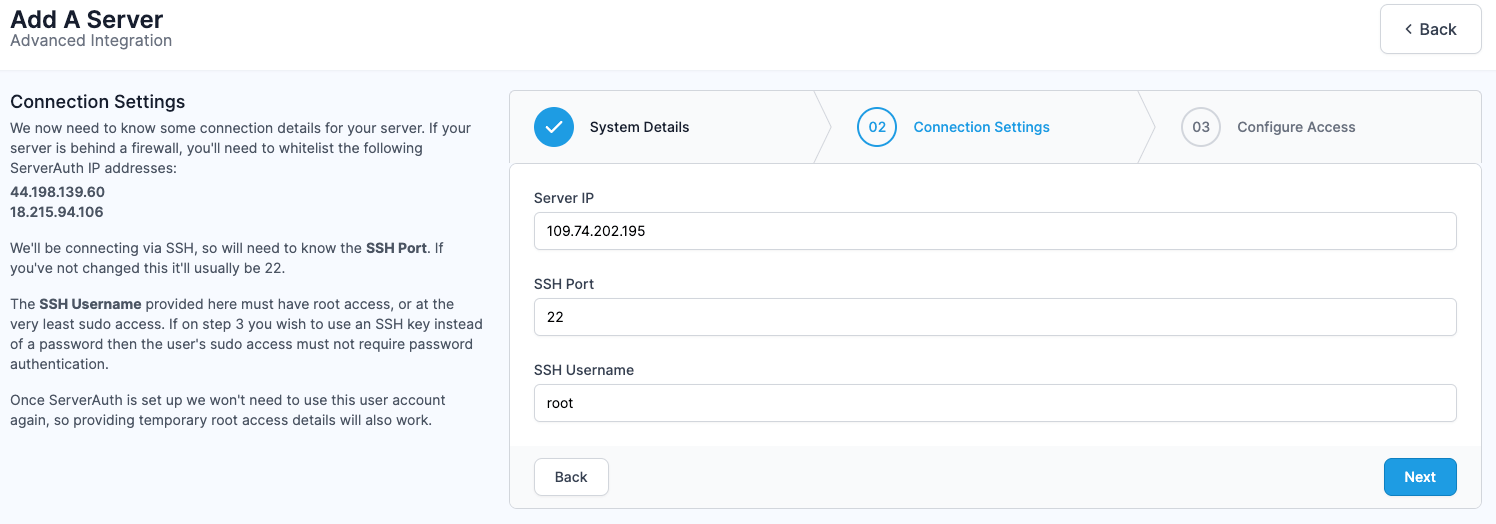
For the second step we start to need connection information for your server. The IP address that you copied earlier for your new server, paste that into the IP box, the SSH port can usually stay as 22 unless you've made some changes already to your server. Lastly, enter the SSH username which in our case with Ubuntu 22.04, will be "root".
We want to be as secure as possible so on step three we are going to select SSH Connection rather than password.
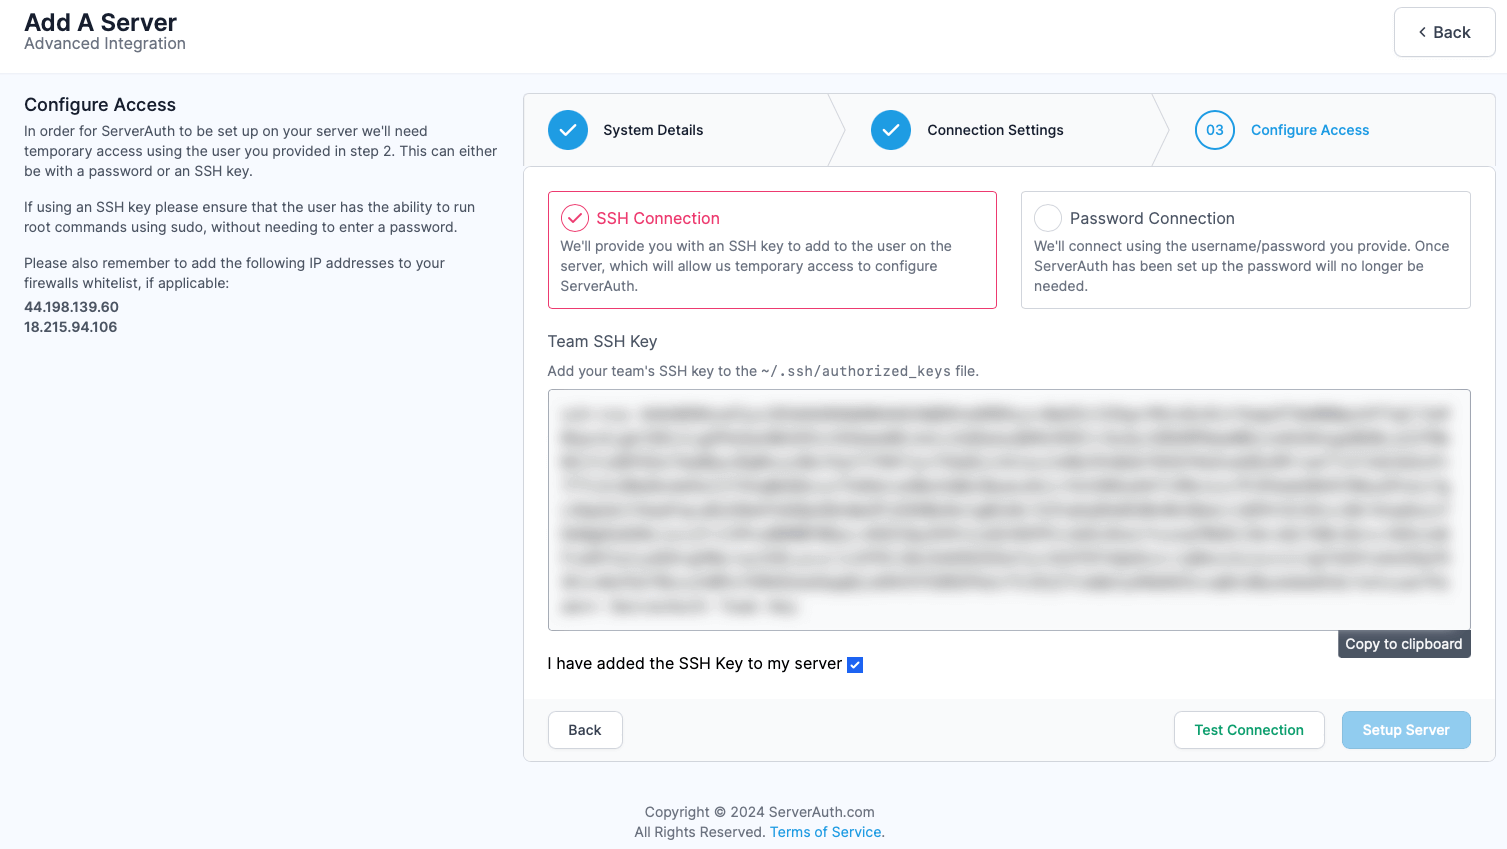
When you select "SSH Connection" option you will be shown the SSH key for your team. This is used by our system to authenticate with your server during the initial server setup. Copy this SSH key and open up your terminal.
SSH into the root user of your new server with the following command, remember to switch out the IP address for your IP.
ssh root@[your-server-ip]
Once you are connected, open up the authorized_keys file for your root user, this can be found at ~/.ssh/authorized_keys.
Use whatever editor you are most comfortable with to open and edit the file. I'm using nano in this tutorial.
nano ~/.ssh/authorized_keys
There should already be at least 1 SSH key in the file, any SSH keys here will be keys that you selected during the initial server creation portion within Akamai. Move your cursor to a new line in the file and paste in your team SSH key and save the file.
Open your browser window back up with the ServerAuth server creation flow, check the box to confirm you have added the team SSH key and click Test Connection. The button will change to show we are testing the connection. Upon a successful test, the button will change again confirming that we were able to connect successfully to the server. If not, you will be shown an error that was returned from the connection test. If the test was successful click the "Setup Server" button to continue.
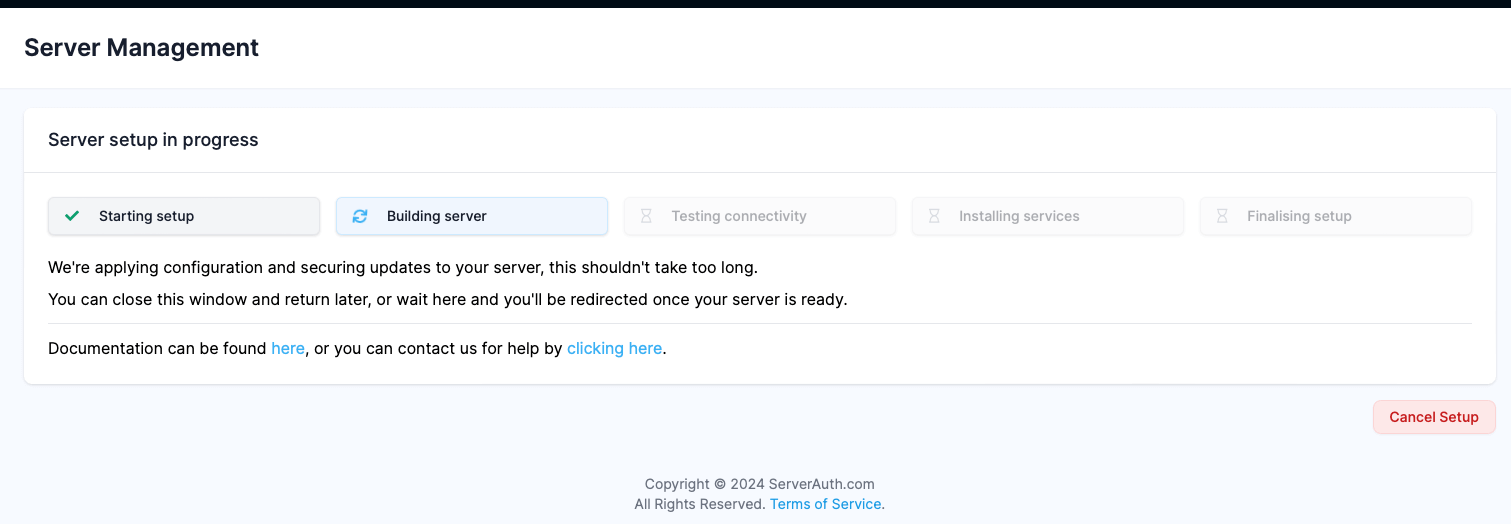
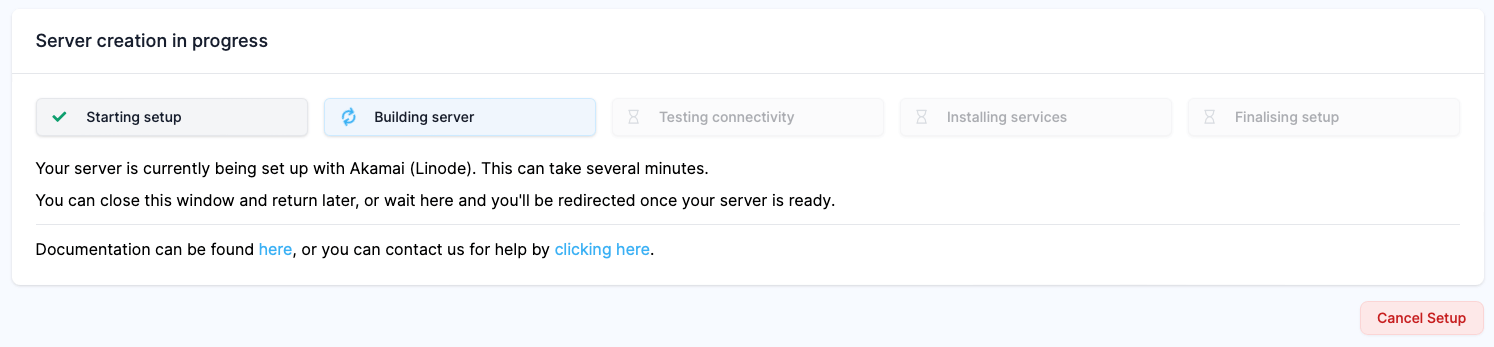
At this point, our system will reconnect to your server and begin configuring all the options and services it needs to allow us to manage your server. You'll see an "in progress" screen with all the completed steps shown along with any steps left.
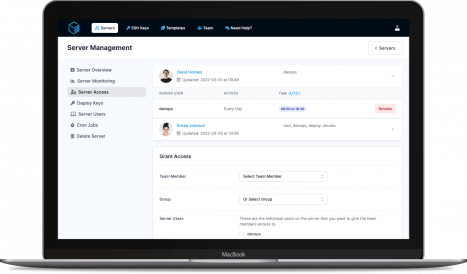
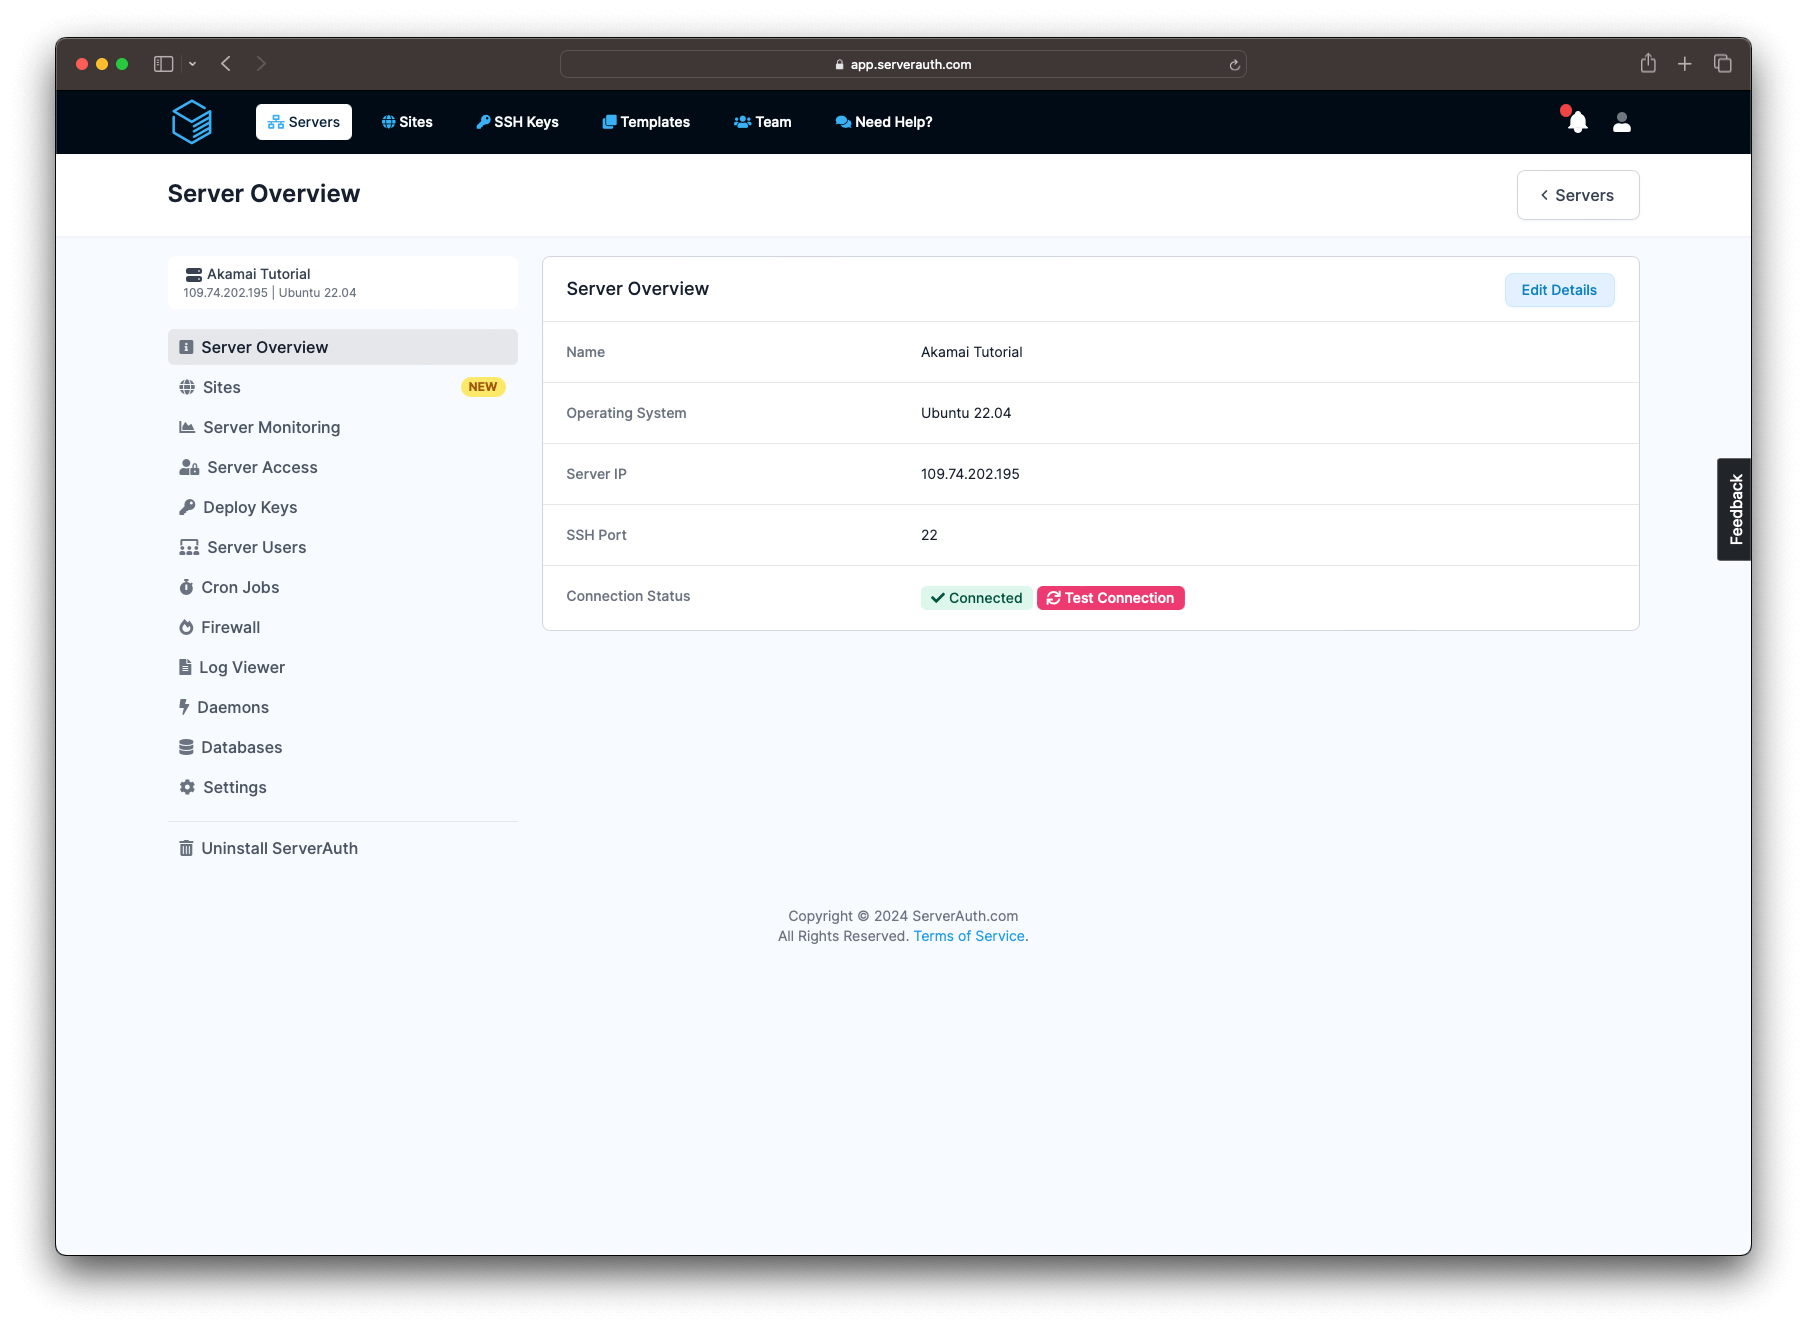
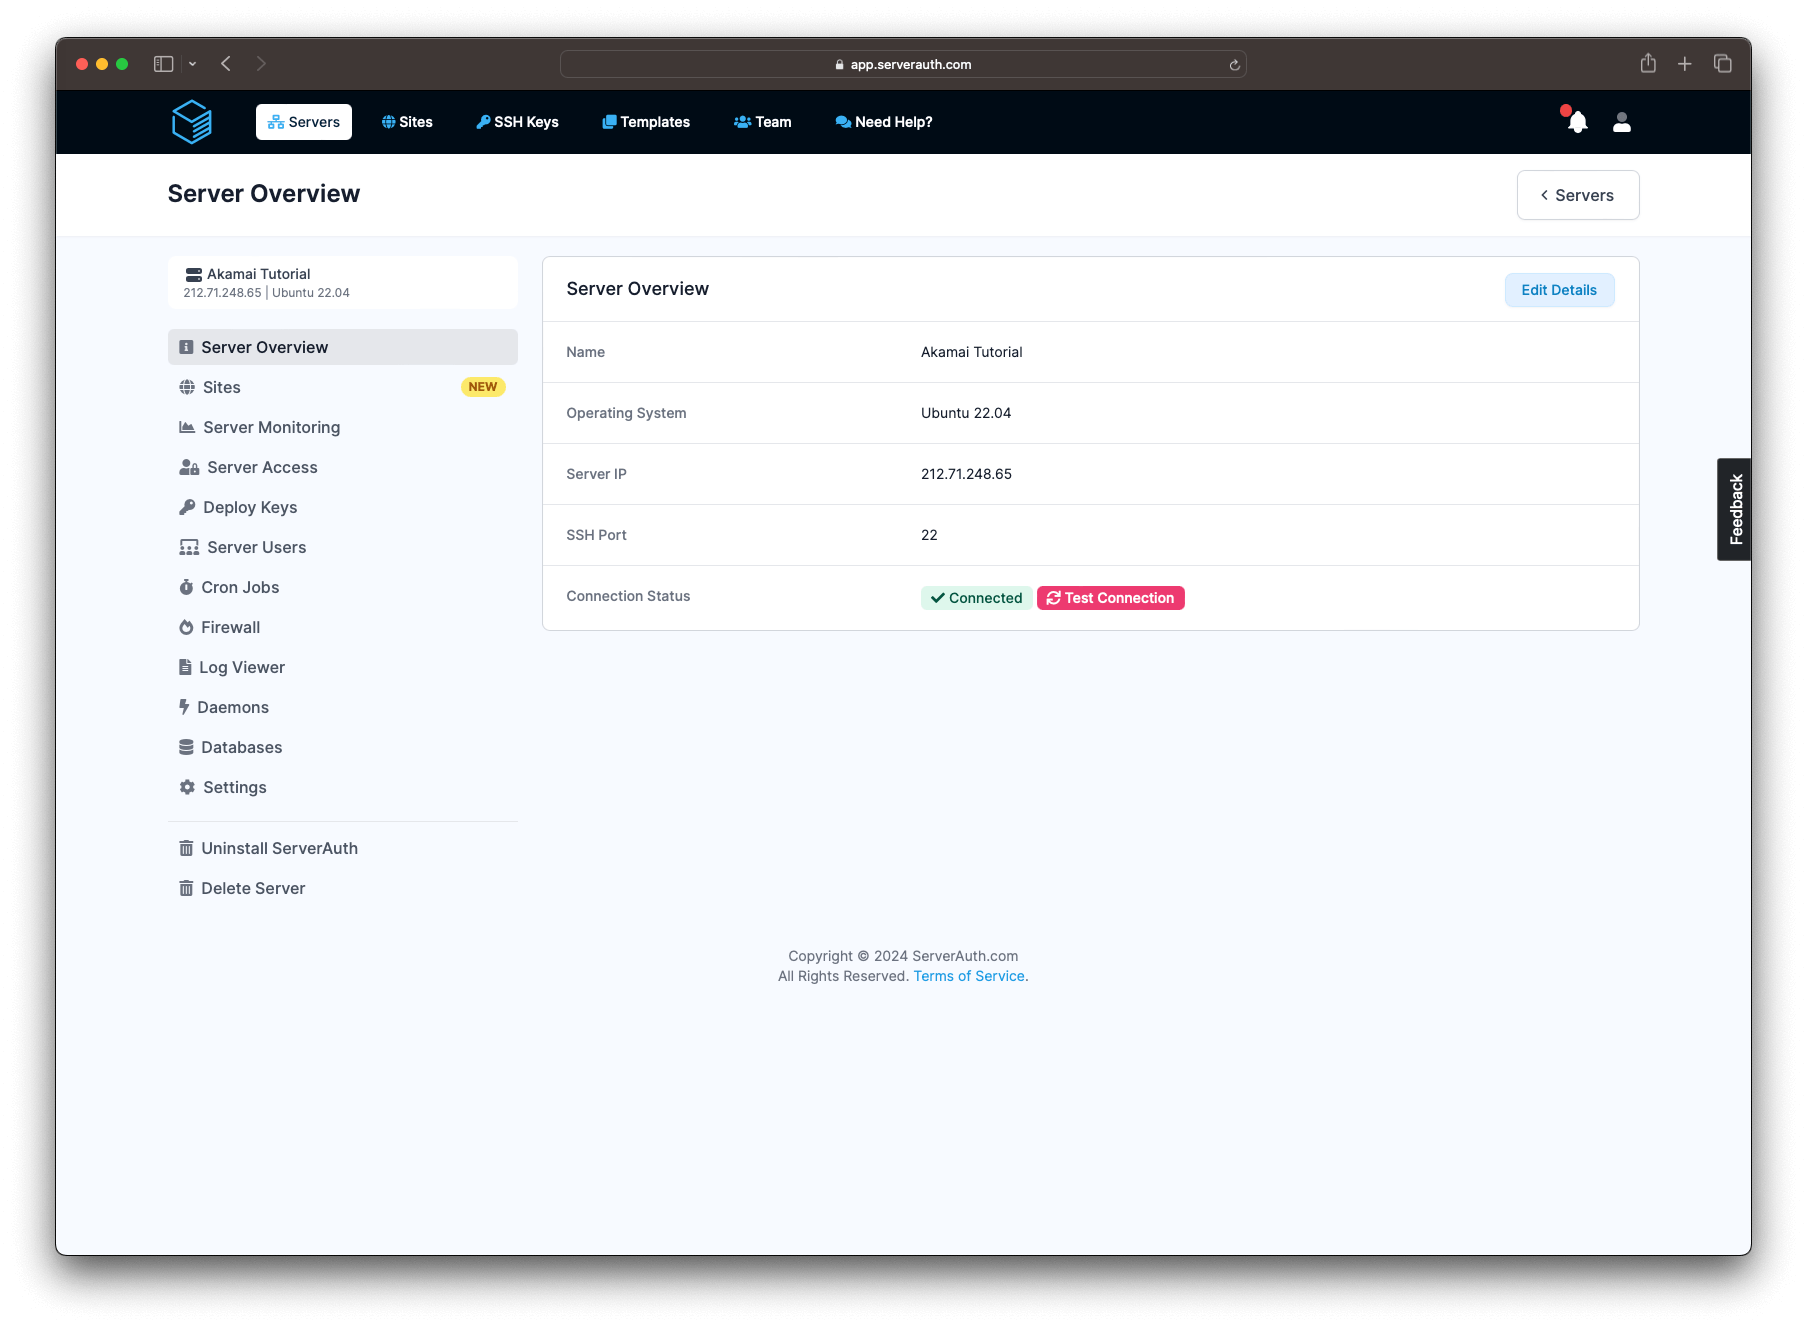
Once complete, you will be be redirected to the server overview screen for your new server! From here you can start to manage your server directly from our Platform.
We also have an easier, more hands off way of getting your server setup with Akamai and integrated with ServerAuth by using the Akamai API.
We need to create an API token for this to work so head back to the Akamai Control Panel and click the account menu in the top right to bring up the sub menu and then click in to API Tokens.
Click the "Create a Personal Access Token" button and this should slide out a form to create a new Access Token that looks like this.
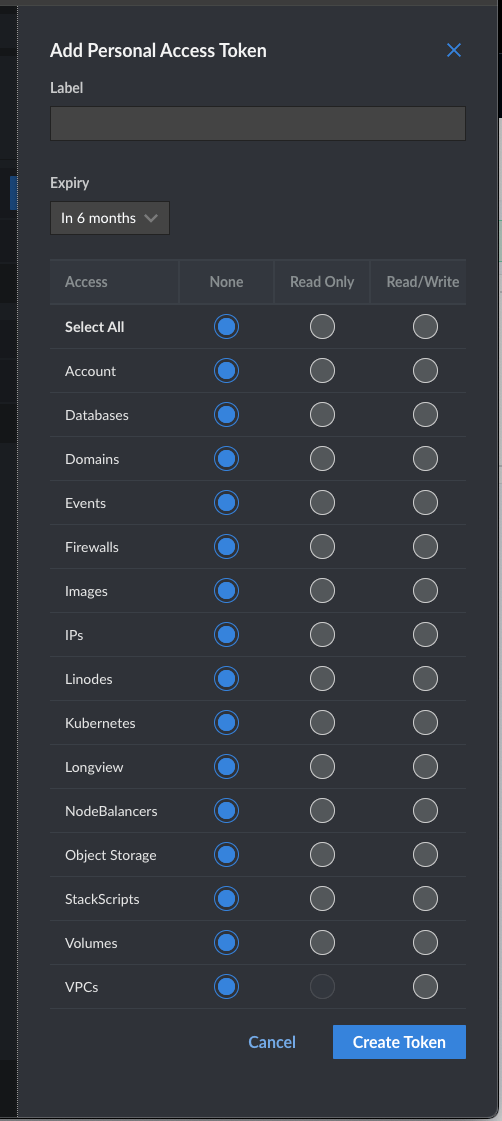
Give the token a name so you know it's for the ServerAuth integration, set an expiry for the token and select the permissions. It's usually good practise to rotate API keys every so often for extra security so setting an expiry date is a good idea. Just remember to change it within ServerAuth also if you want to create more Akamai servers from ServerAuth.
For the permissions, select "Read/Write" for Account, Images, IPs, Linodes, Volumes and VPCs. Everything else can be left as none. Once done, click Create Token and a new window will appear showing you your token. Copy this token now as once that window closes you will not be able to access it again.
Head back to the ServerAuth platform and click in to the Teams section via the top menu, then click into the Server Providers page via the sub menu on the left and you will then be shown the form to add a new Server Provider.
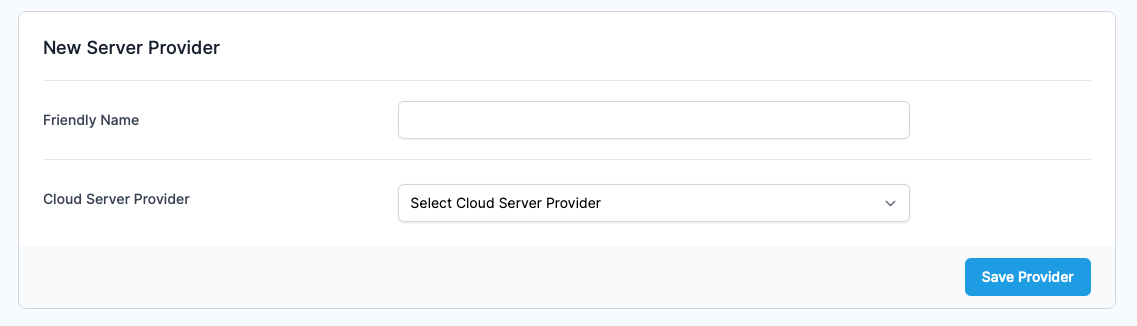
Give the provider a name, this can be useful if you have multiple Akamai accounts integrated with ServerAuth. Select "Akamai (Linode)" from the drop down menu and then drop your API key into the box that appears. Hit save and then navigate back to the ServerAuth servers page.
Click to add a new server and you will notice the select provider page now looks slightly different as there will be an Akamai option now.
Click your Akamai server provider and you will be taken to a new form and asked to fill out a name for your server. This is so you can identify it within ServerAuth and the Akamai Control Panel as we will send this name to them via the API.
Select a region to place your server in, the list here should match the same region list from the first part of this guide. Once selected, there may be a short pause as we retrieve pricing information from Akamai for that region. A table will then show the available server types and pricing for each type.
We've simply selected London, UK again and opted for the $12 per month 2GB server.
Once selected, you can ignore the rest of the options and click the button to create your server.
You will be presented with a similar processing screen as before. The wording will be slightly different however, as it will reflect the slightly different processes that are now running.
In the background, our systems are now talking to the Akamai API and asking it to create a new server in your account. Once Akamai has finished setting up your server our systems will automatically connect to your server and start configuring it so it has everything it needs for us to manage your server.
Once complete, you will be redirected to the familiar server details page.
Whichever method of integration you chose, setup is now complete! You can use the left menu to access the various options available and start managing your server with ease.
Check out our help site for more information or assistance on using parts of the system. Alternatively, if you can't find the answer you're looking for, within the ServerAuth platform, you should see the "Need Help?" link in the header. Use this to get in touch with us and we'll do our best to answer any questions you have!
ServerAuth provides a whole host of management tools, from controlling who can access your server, to managing your website deployments. And with an ever-growing suite of tools you'll always be one step ahead!
Start for free